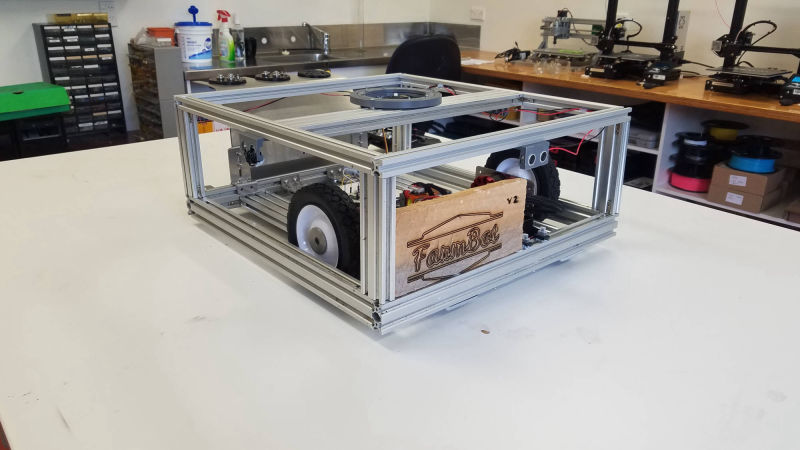
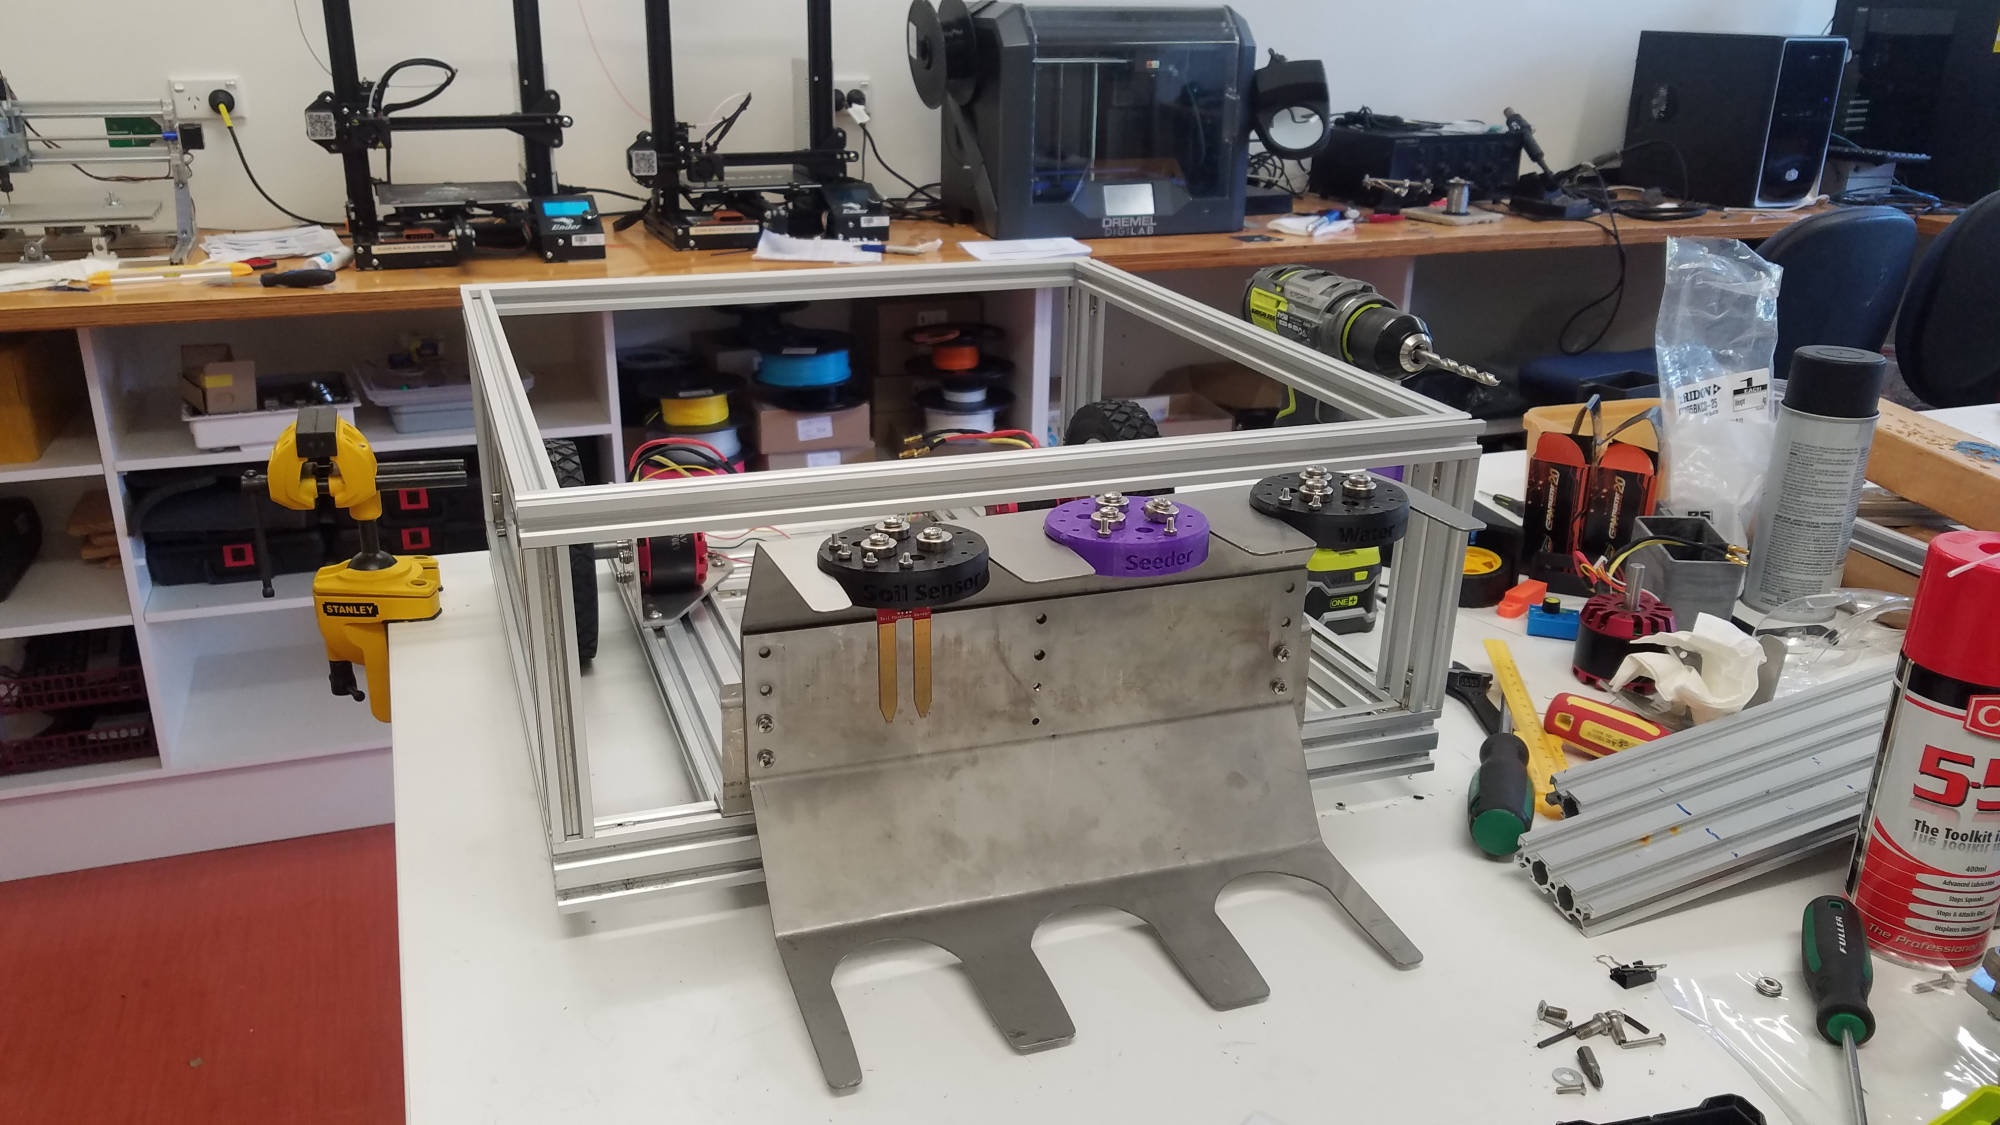
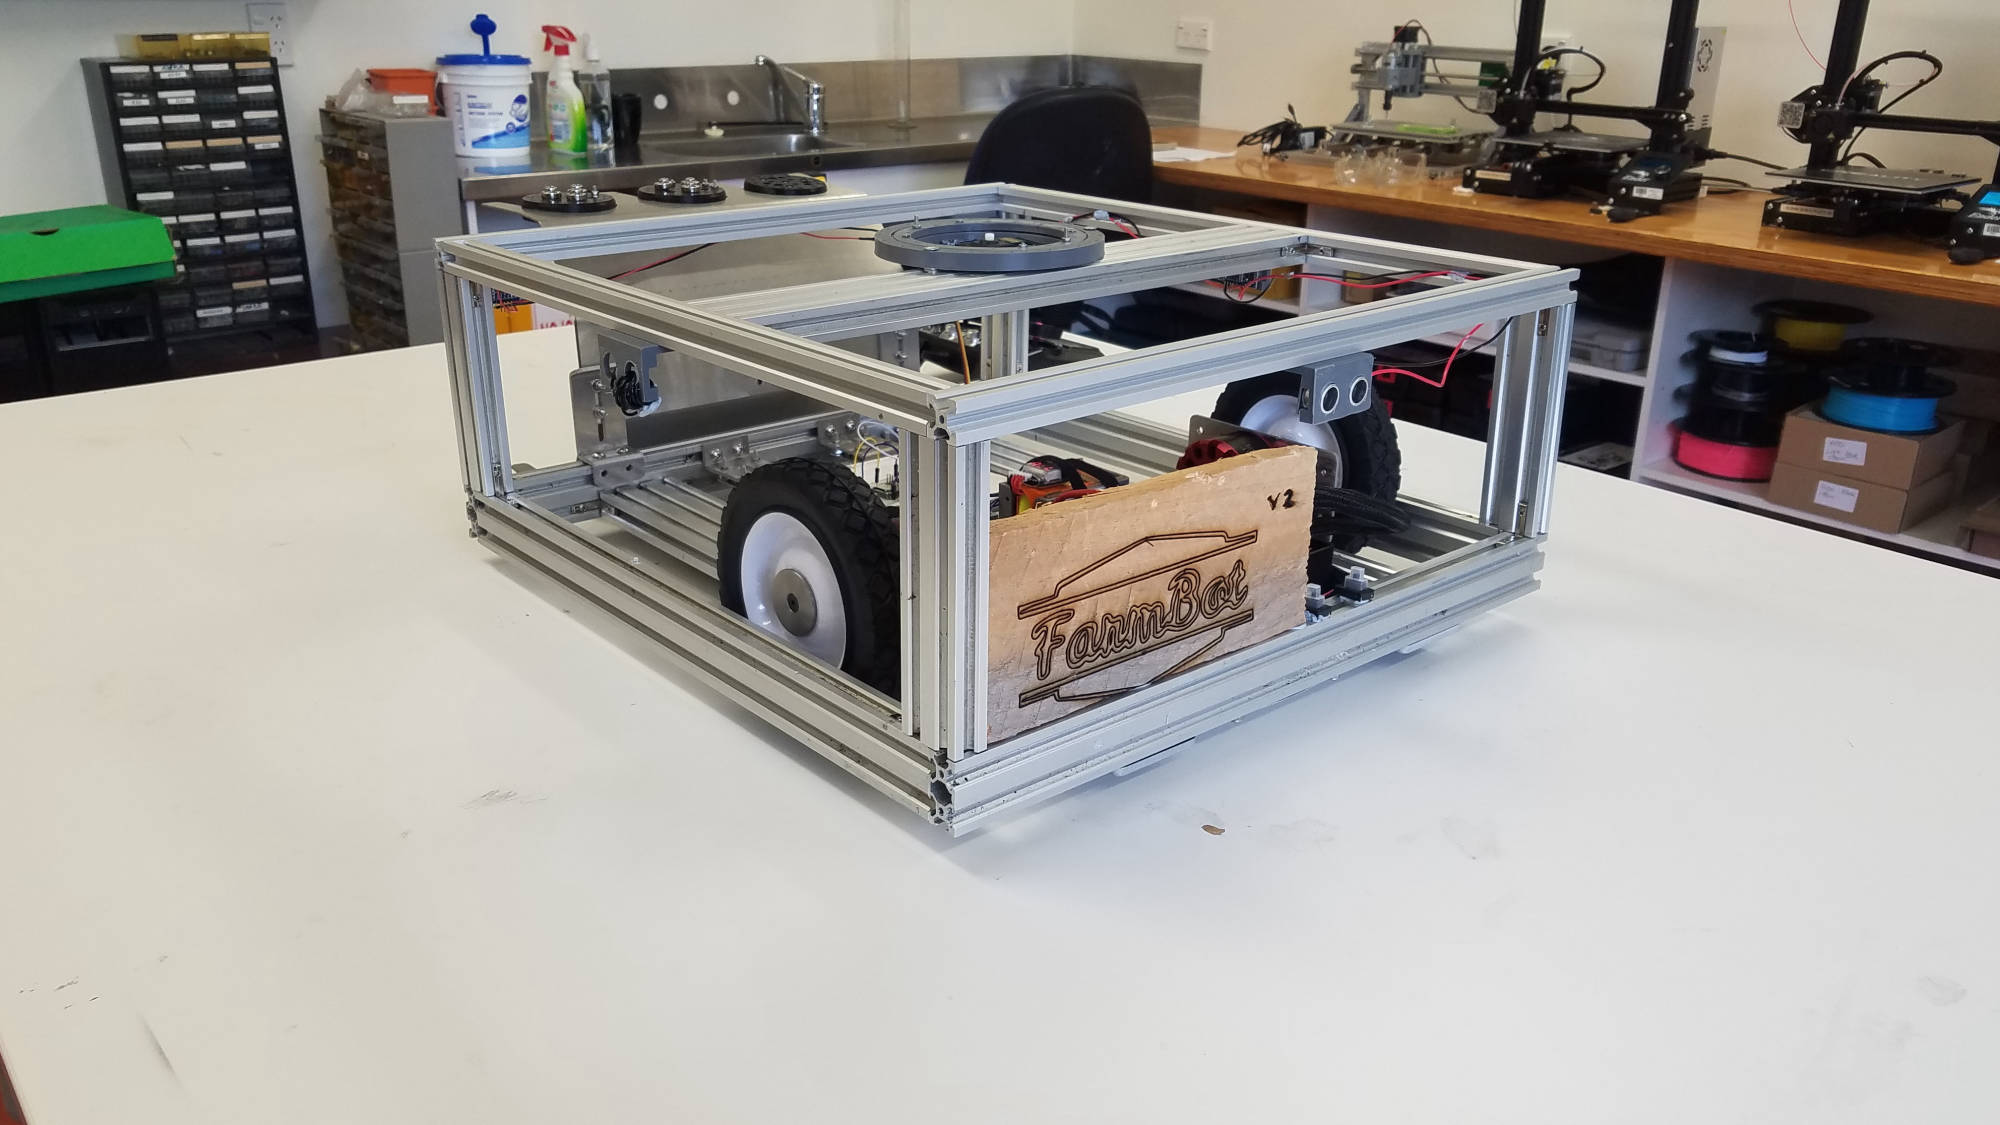
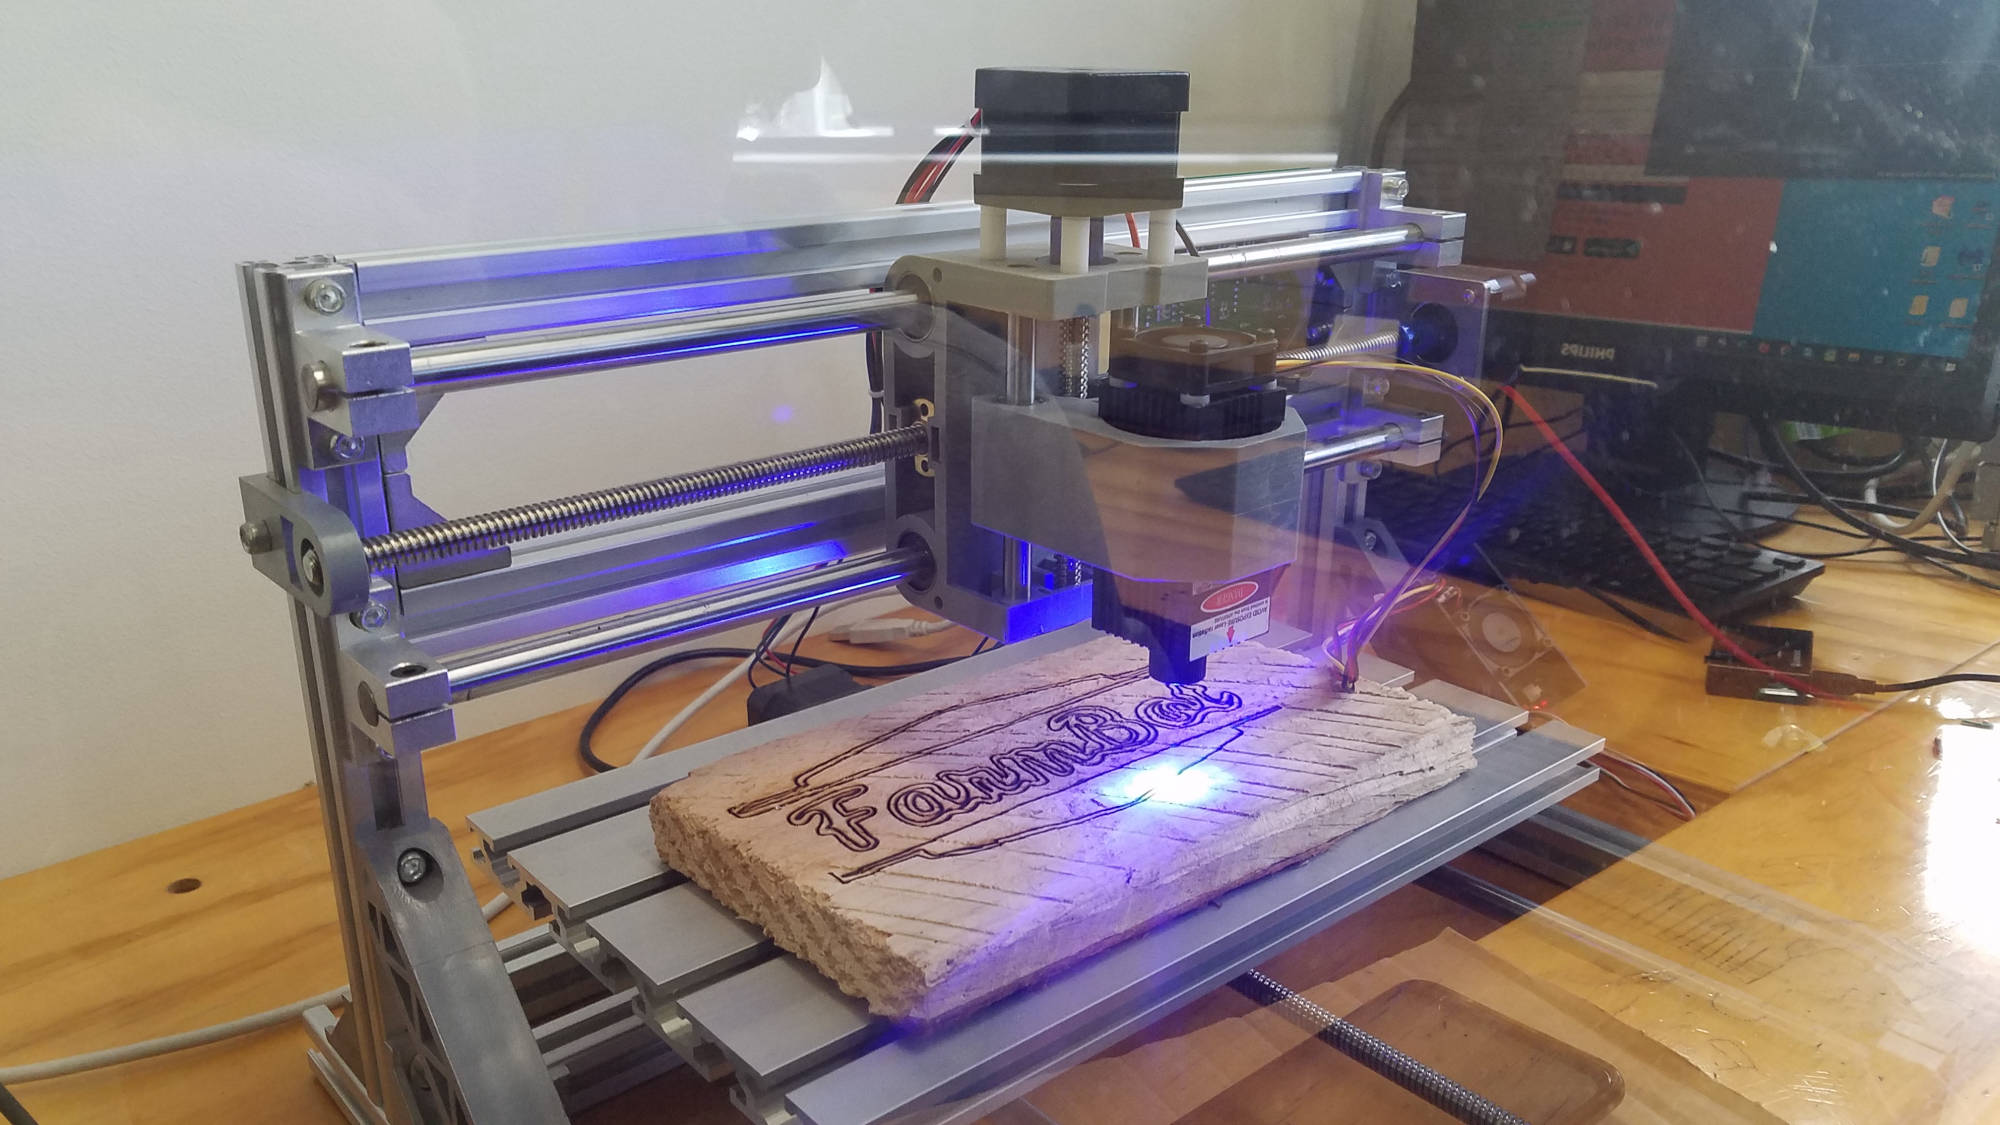
After getting the go ahead from our head of project (Vaughn) to build a Battlebot, we started disassembling 'farmbot' and started coming up with ideas to start our project.
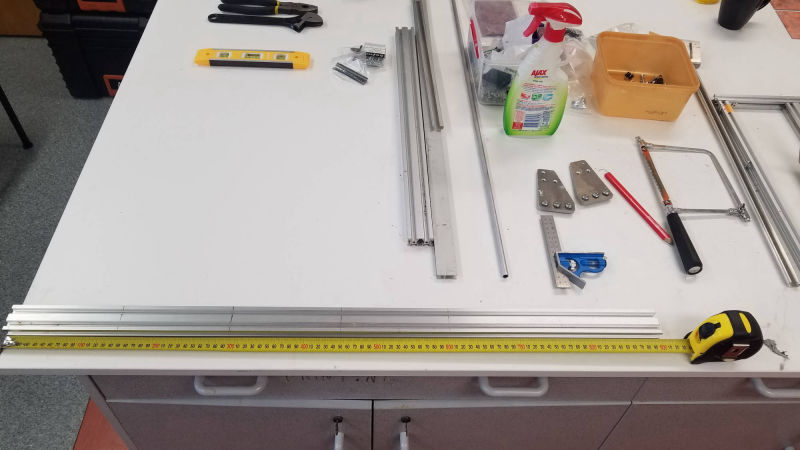
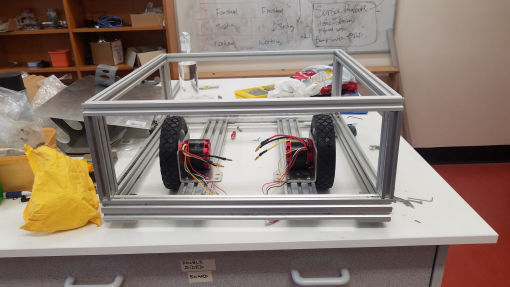
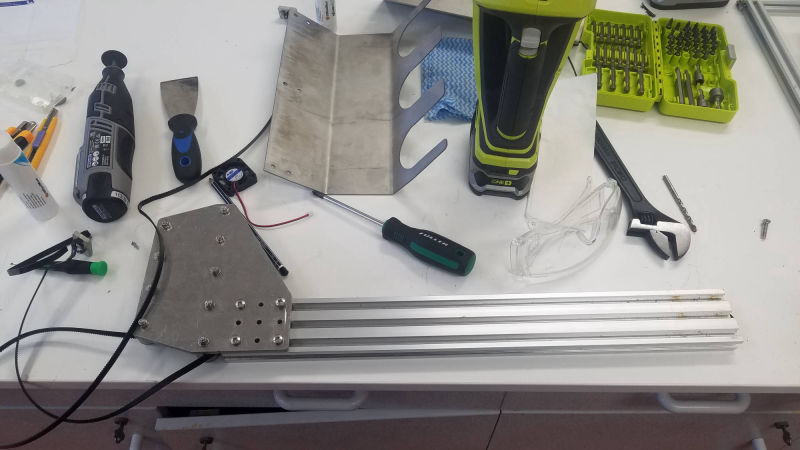
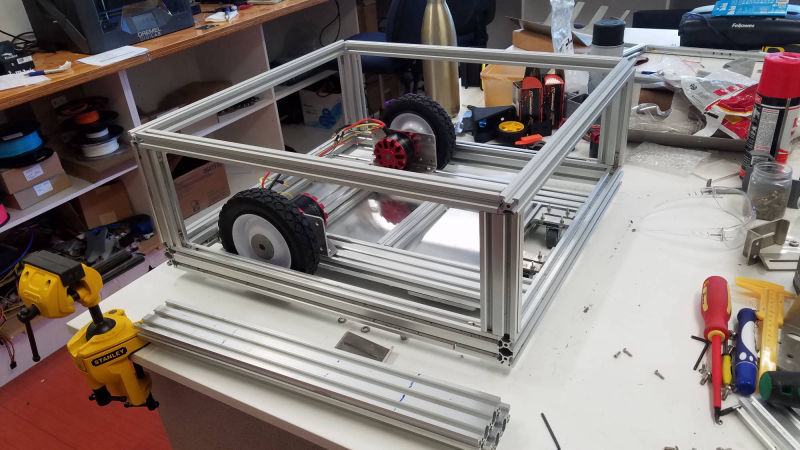
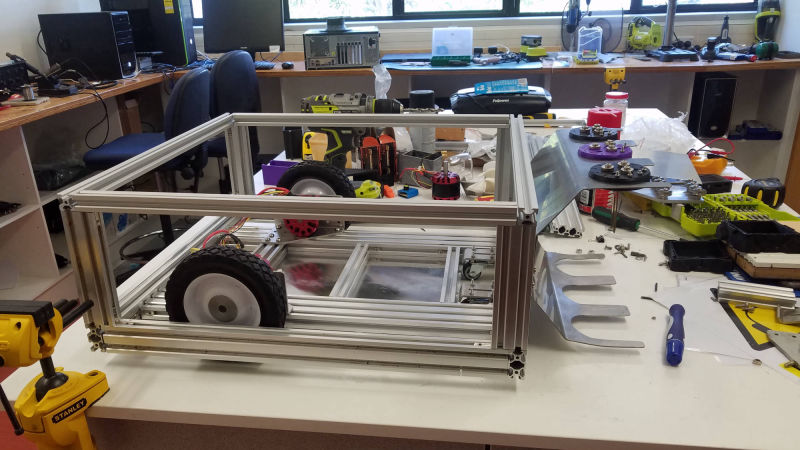
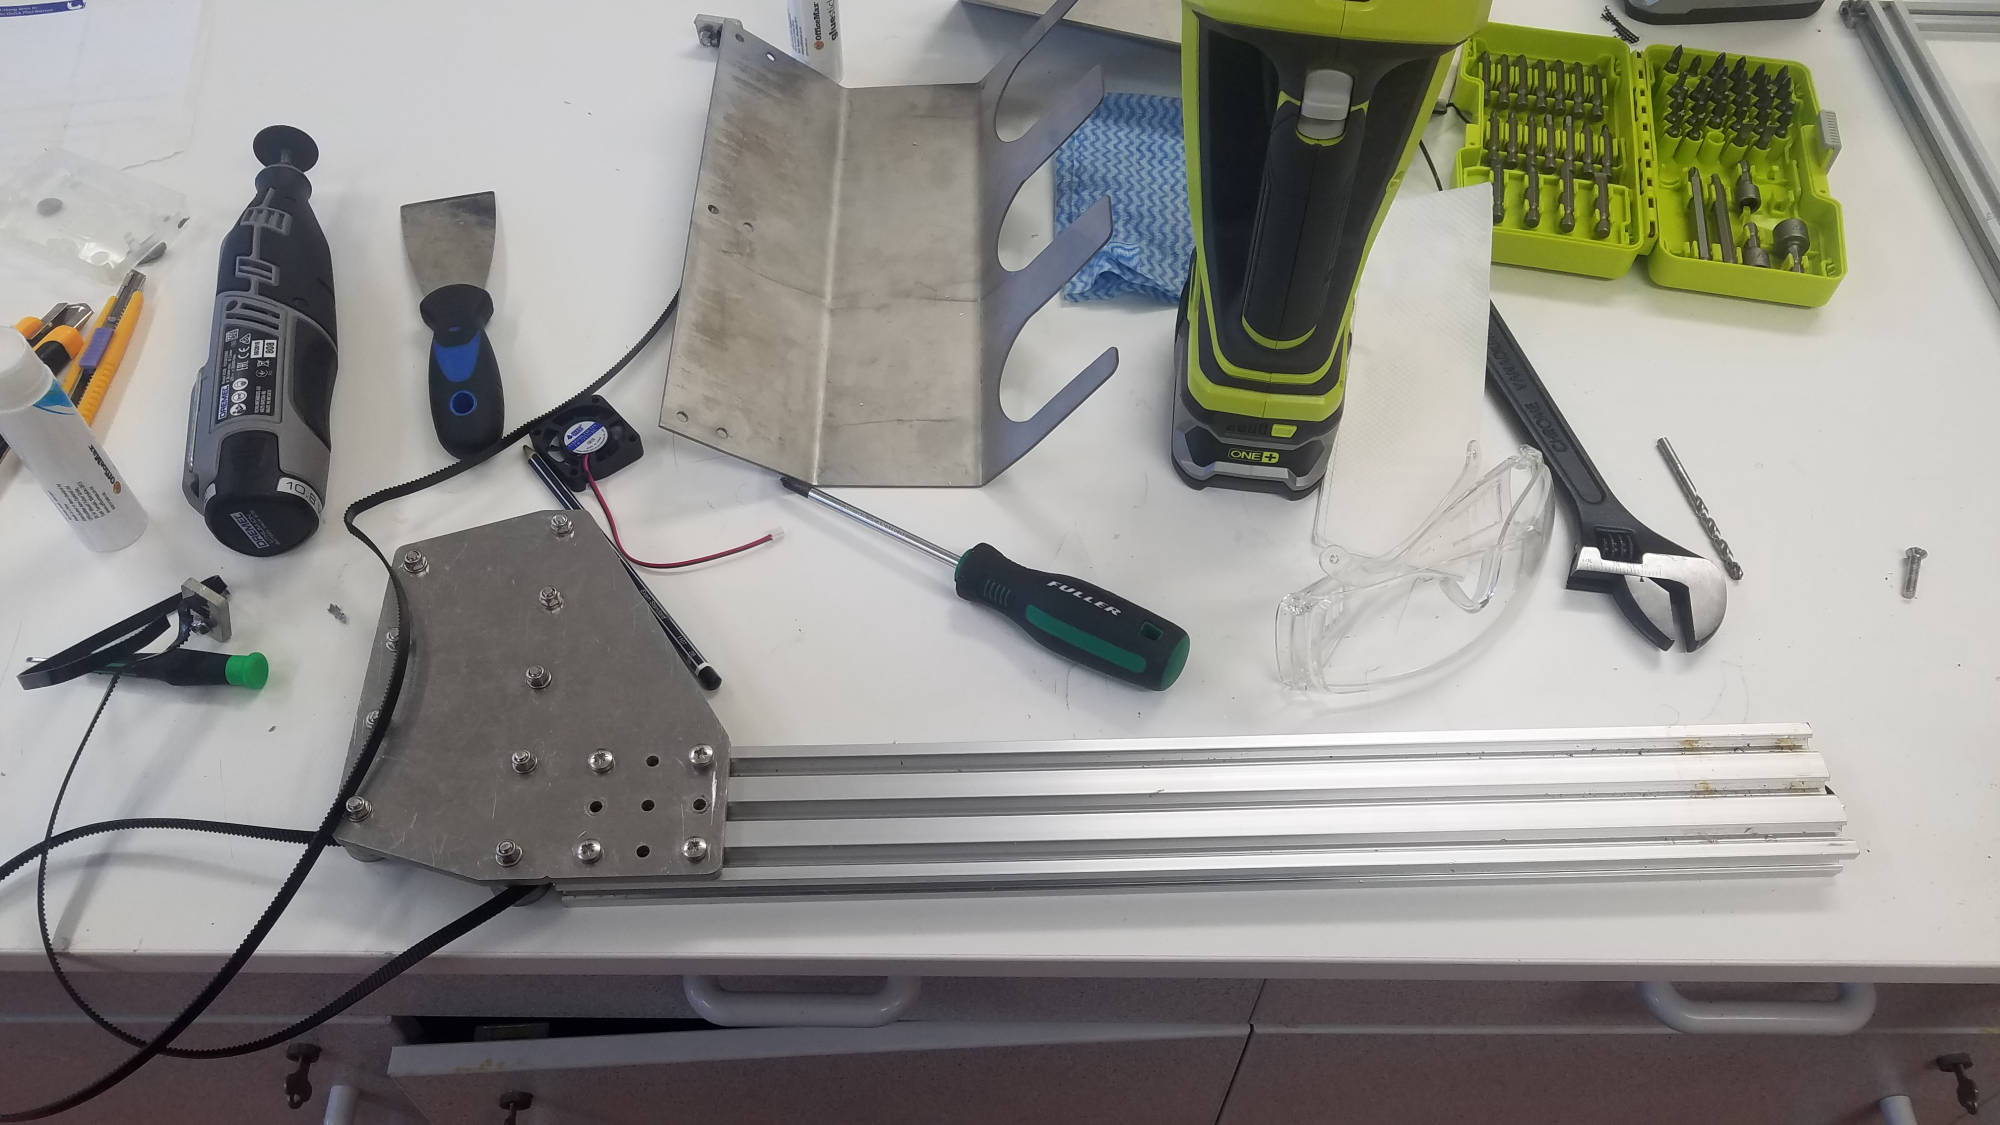
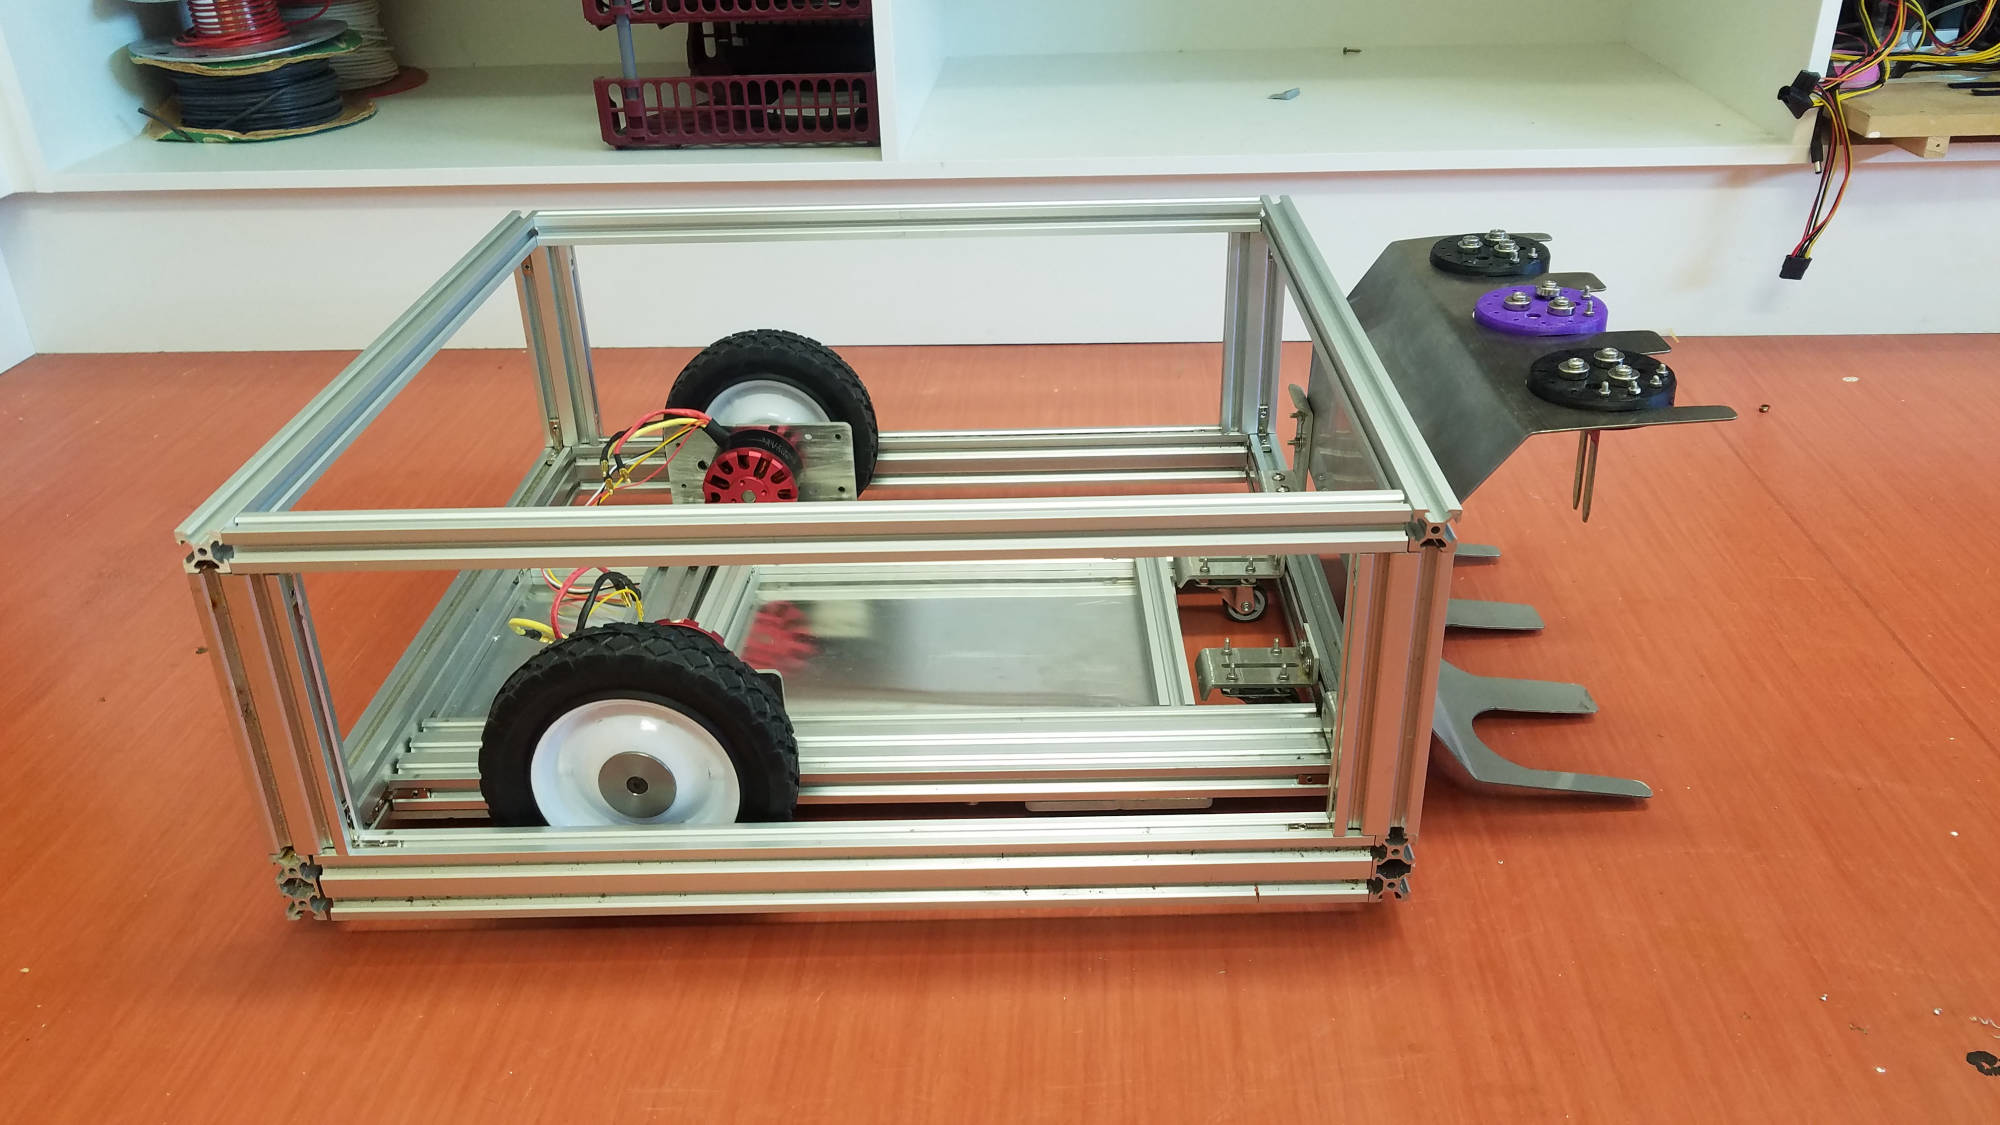
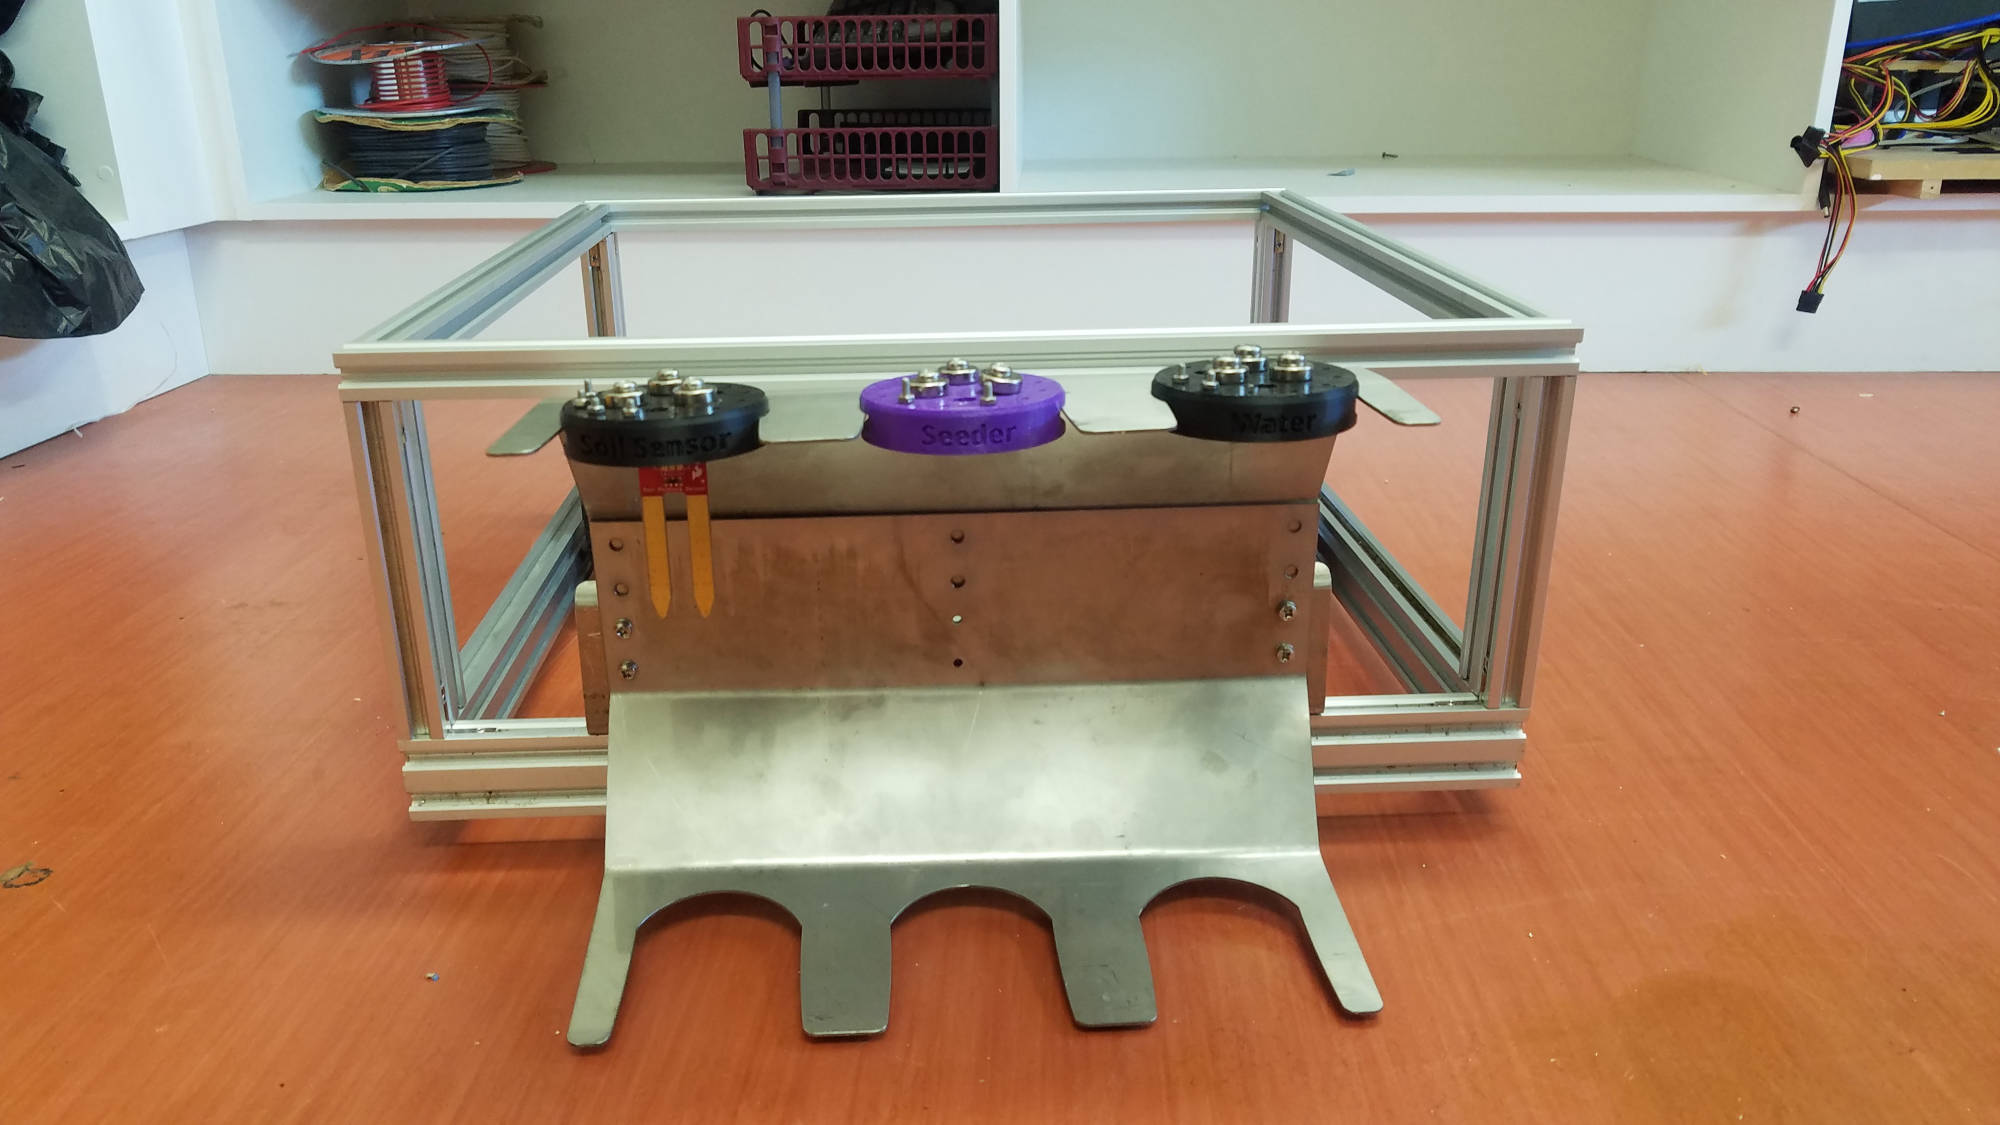
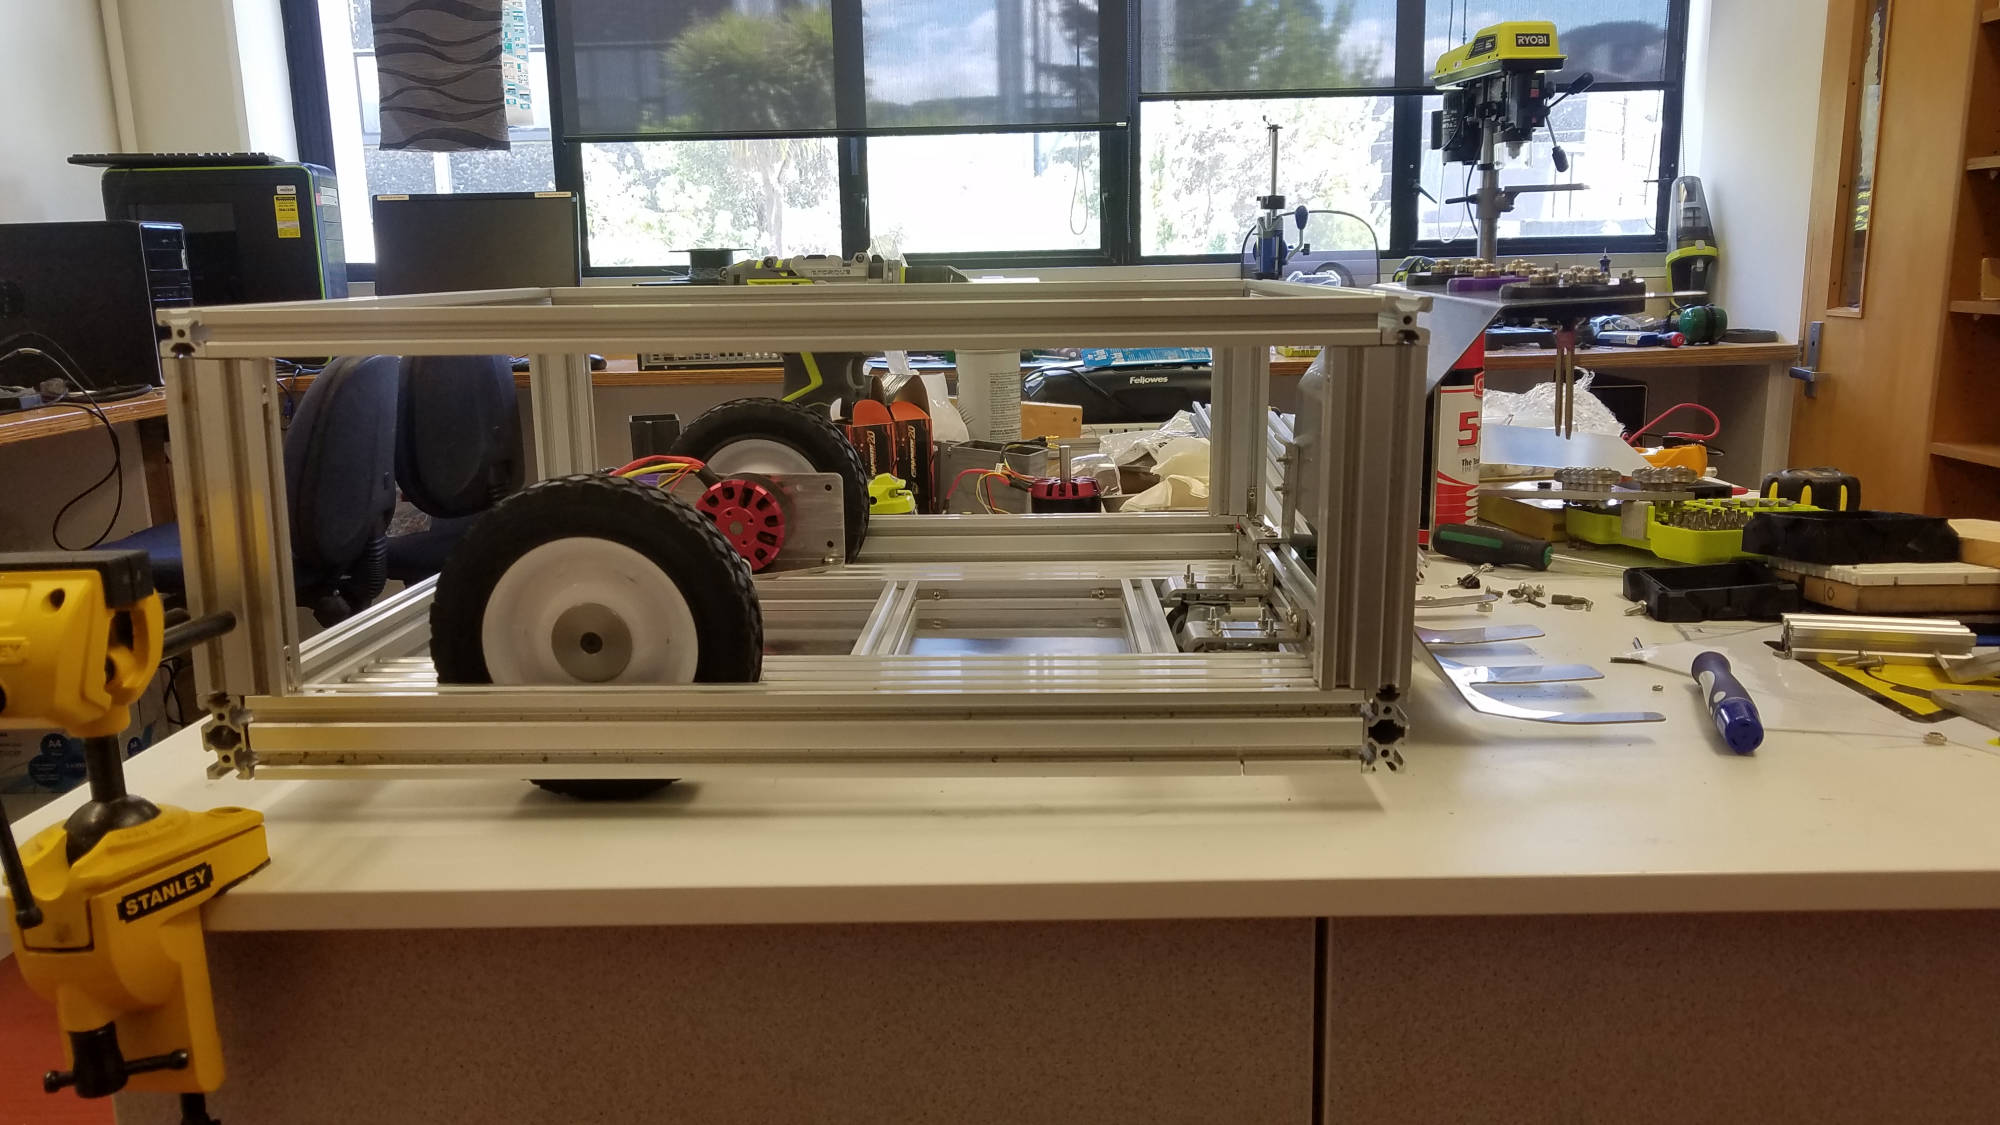
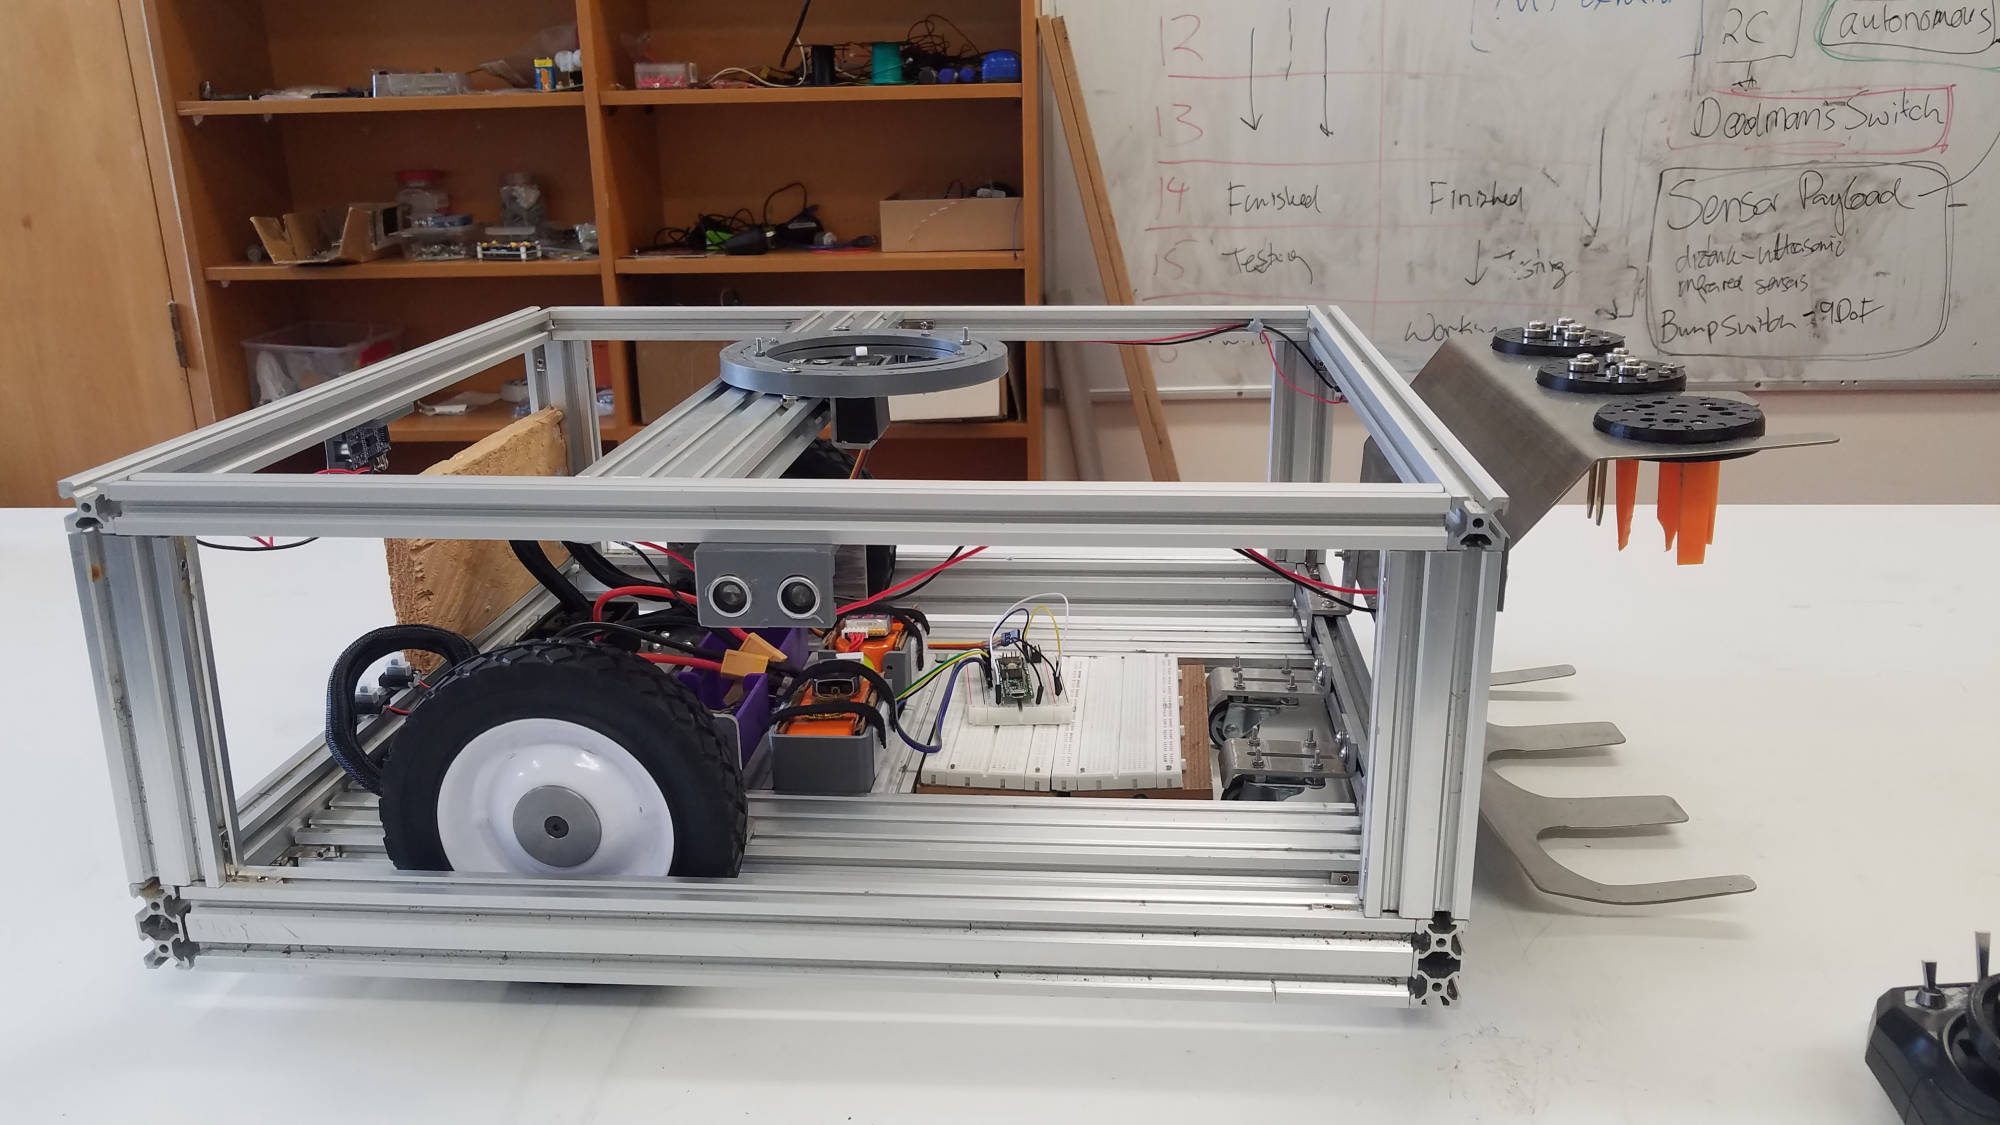
Redisigning Farmbot into a battle robot meant deciding what we can recycle from that project to get us rolling. We had a lot of Aluminium framing and brackets to begin with.
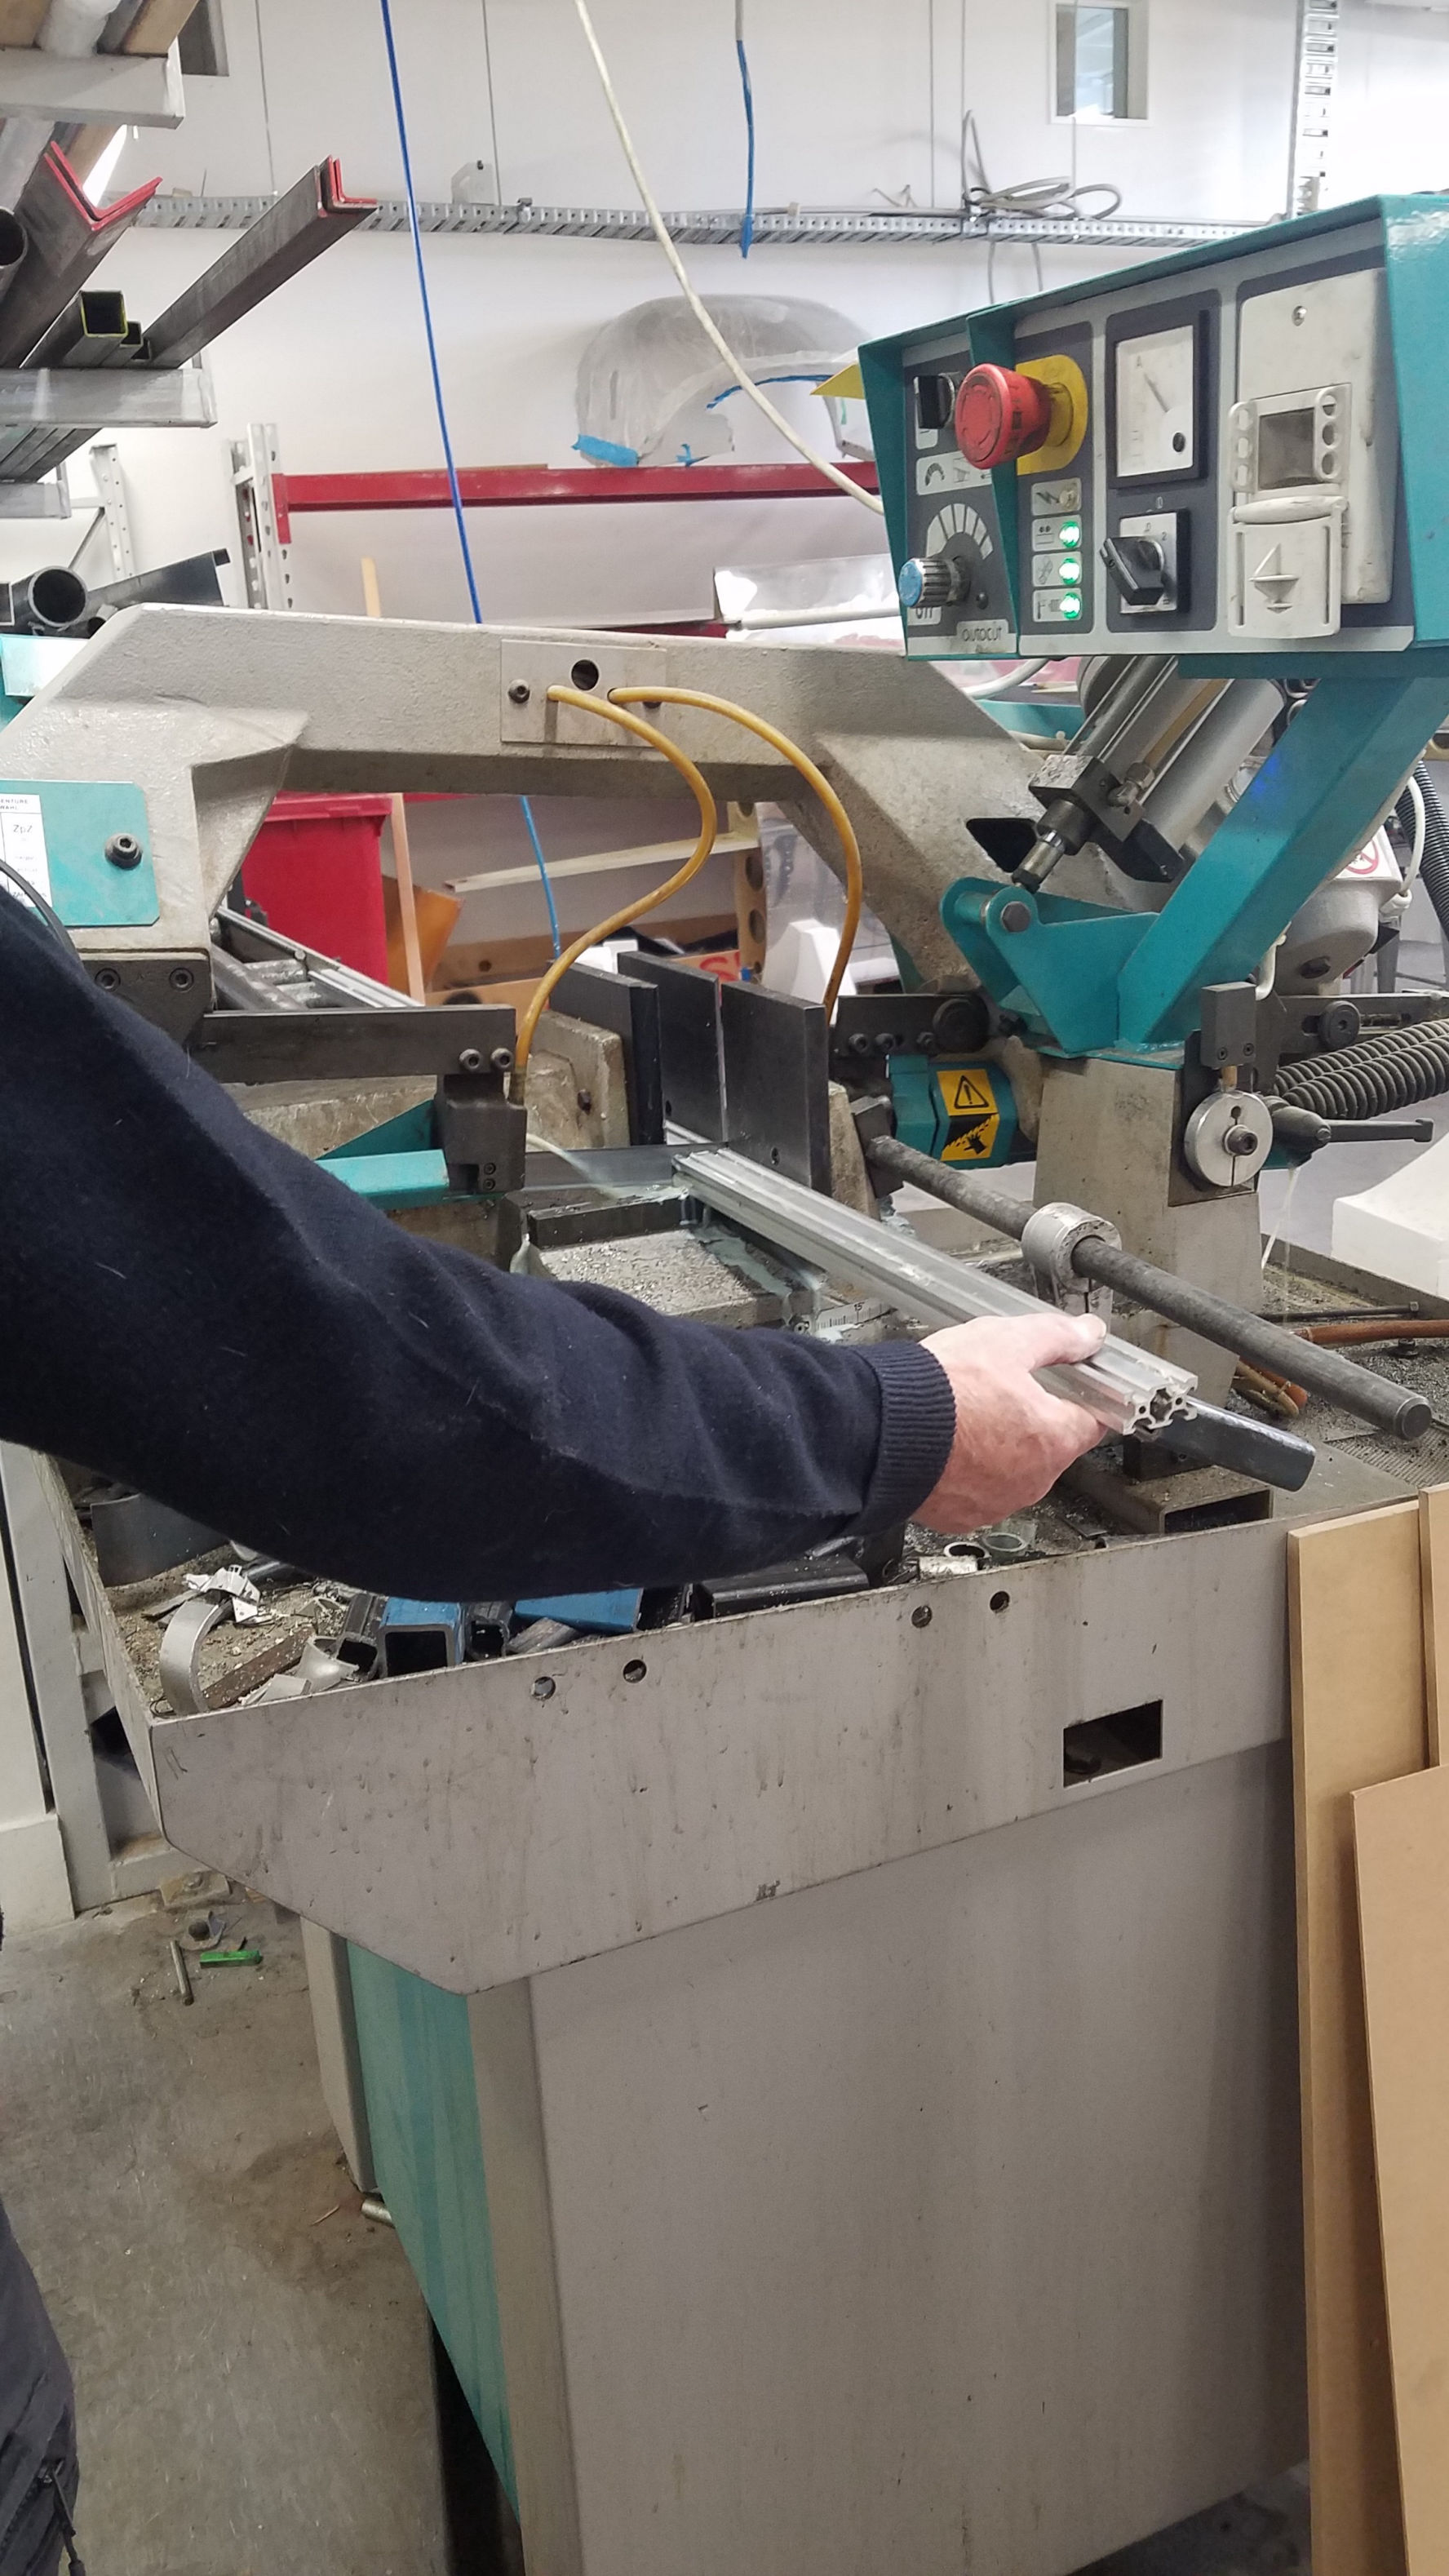
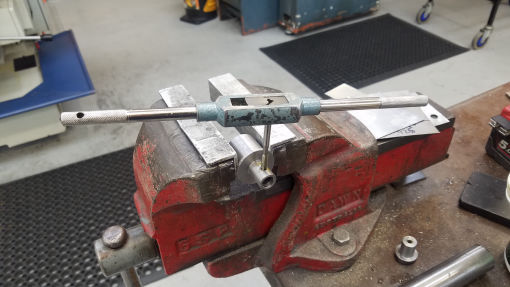
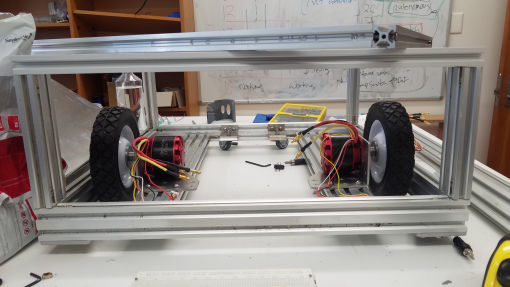
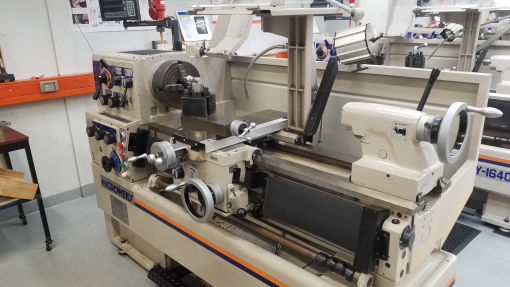
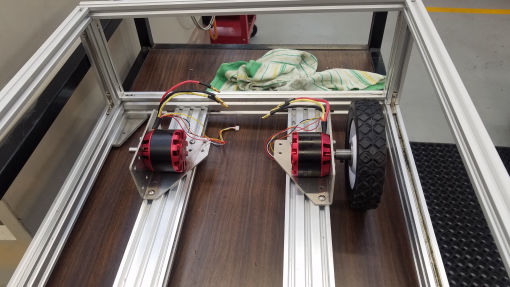
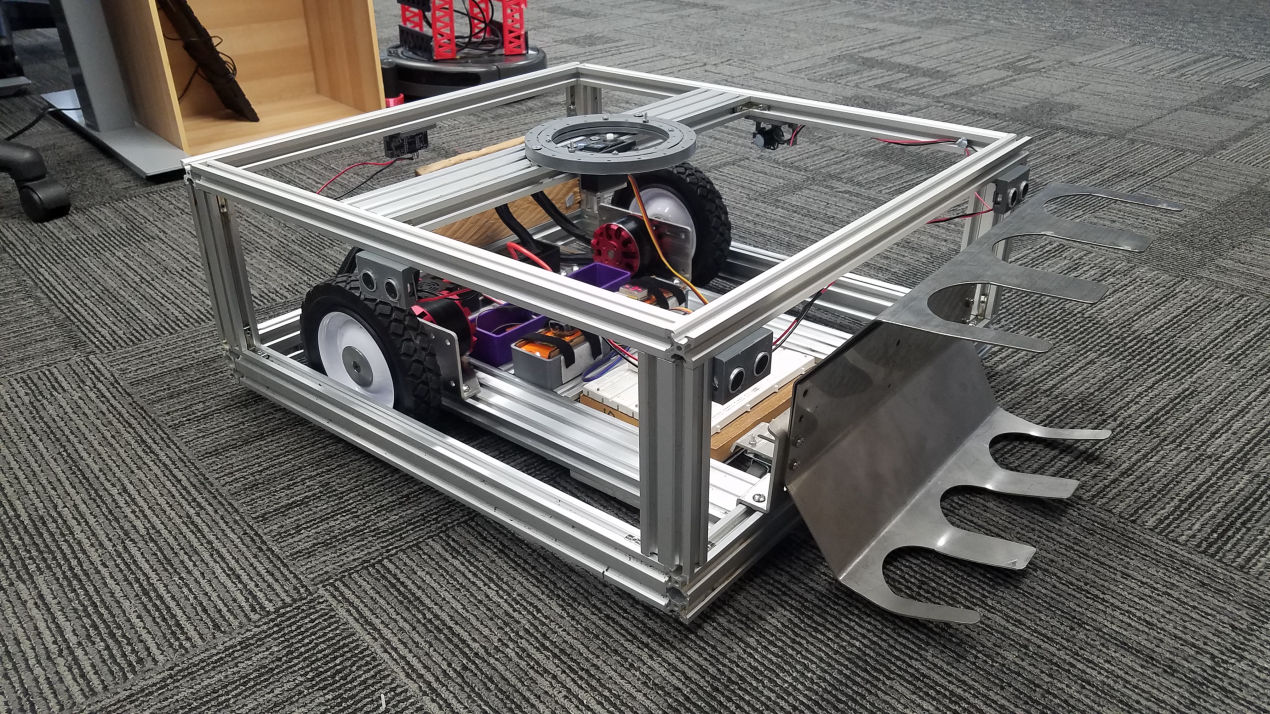
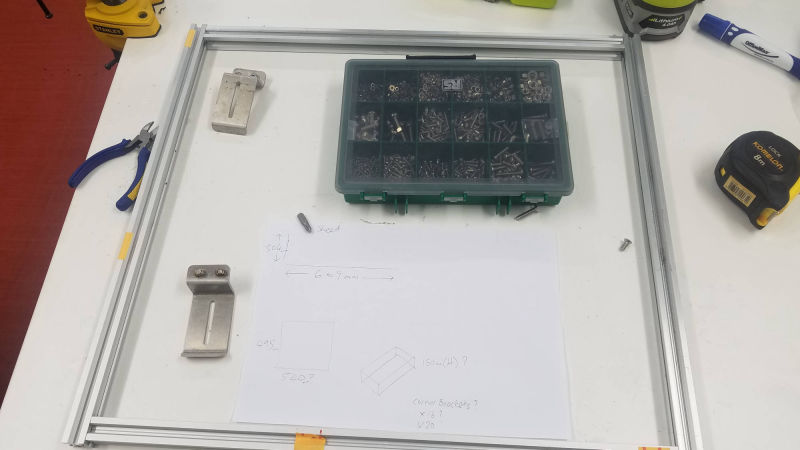
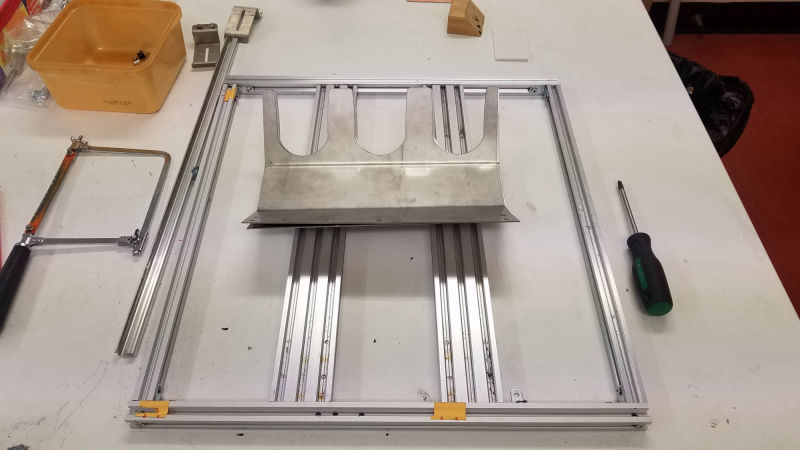
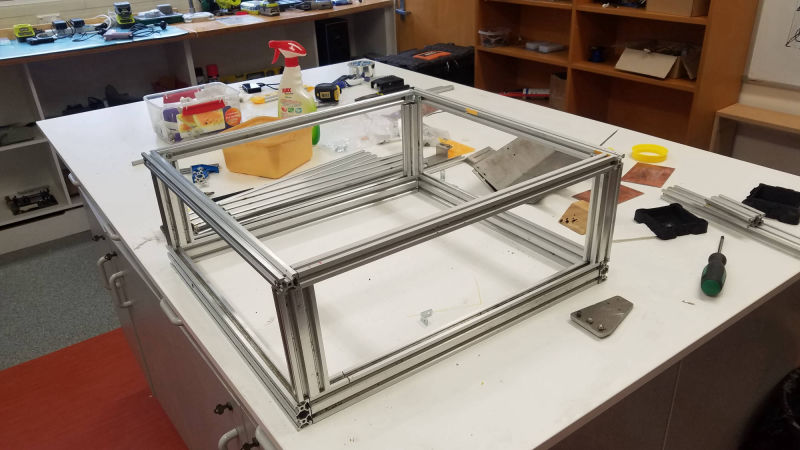
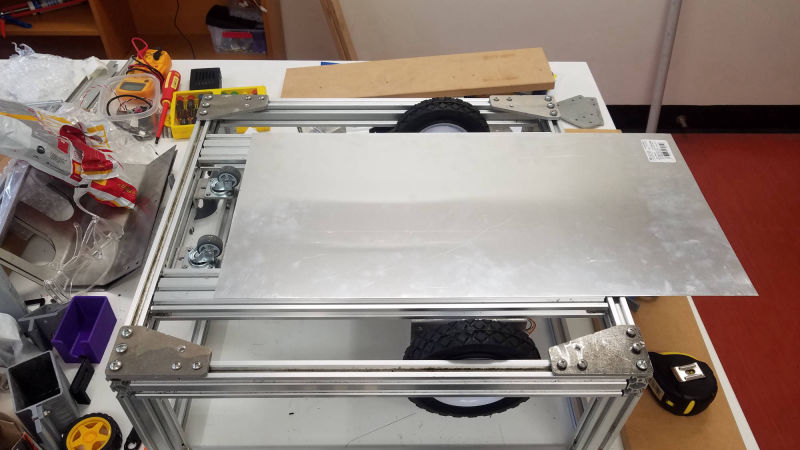
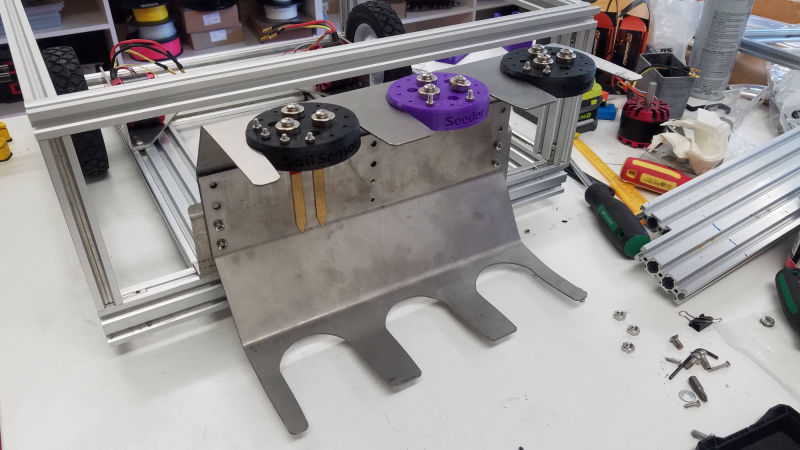
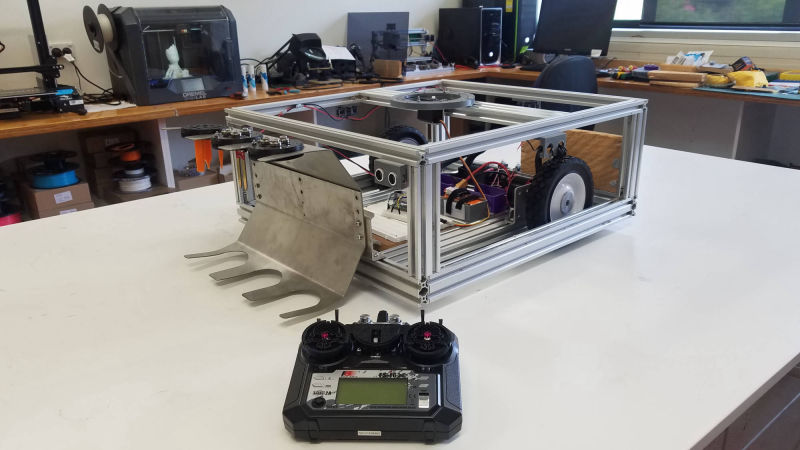
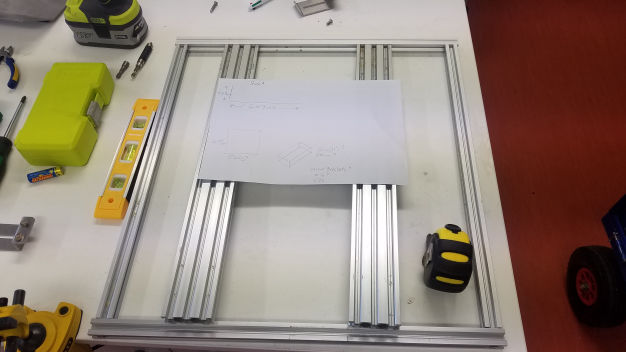
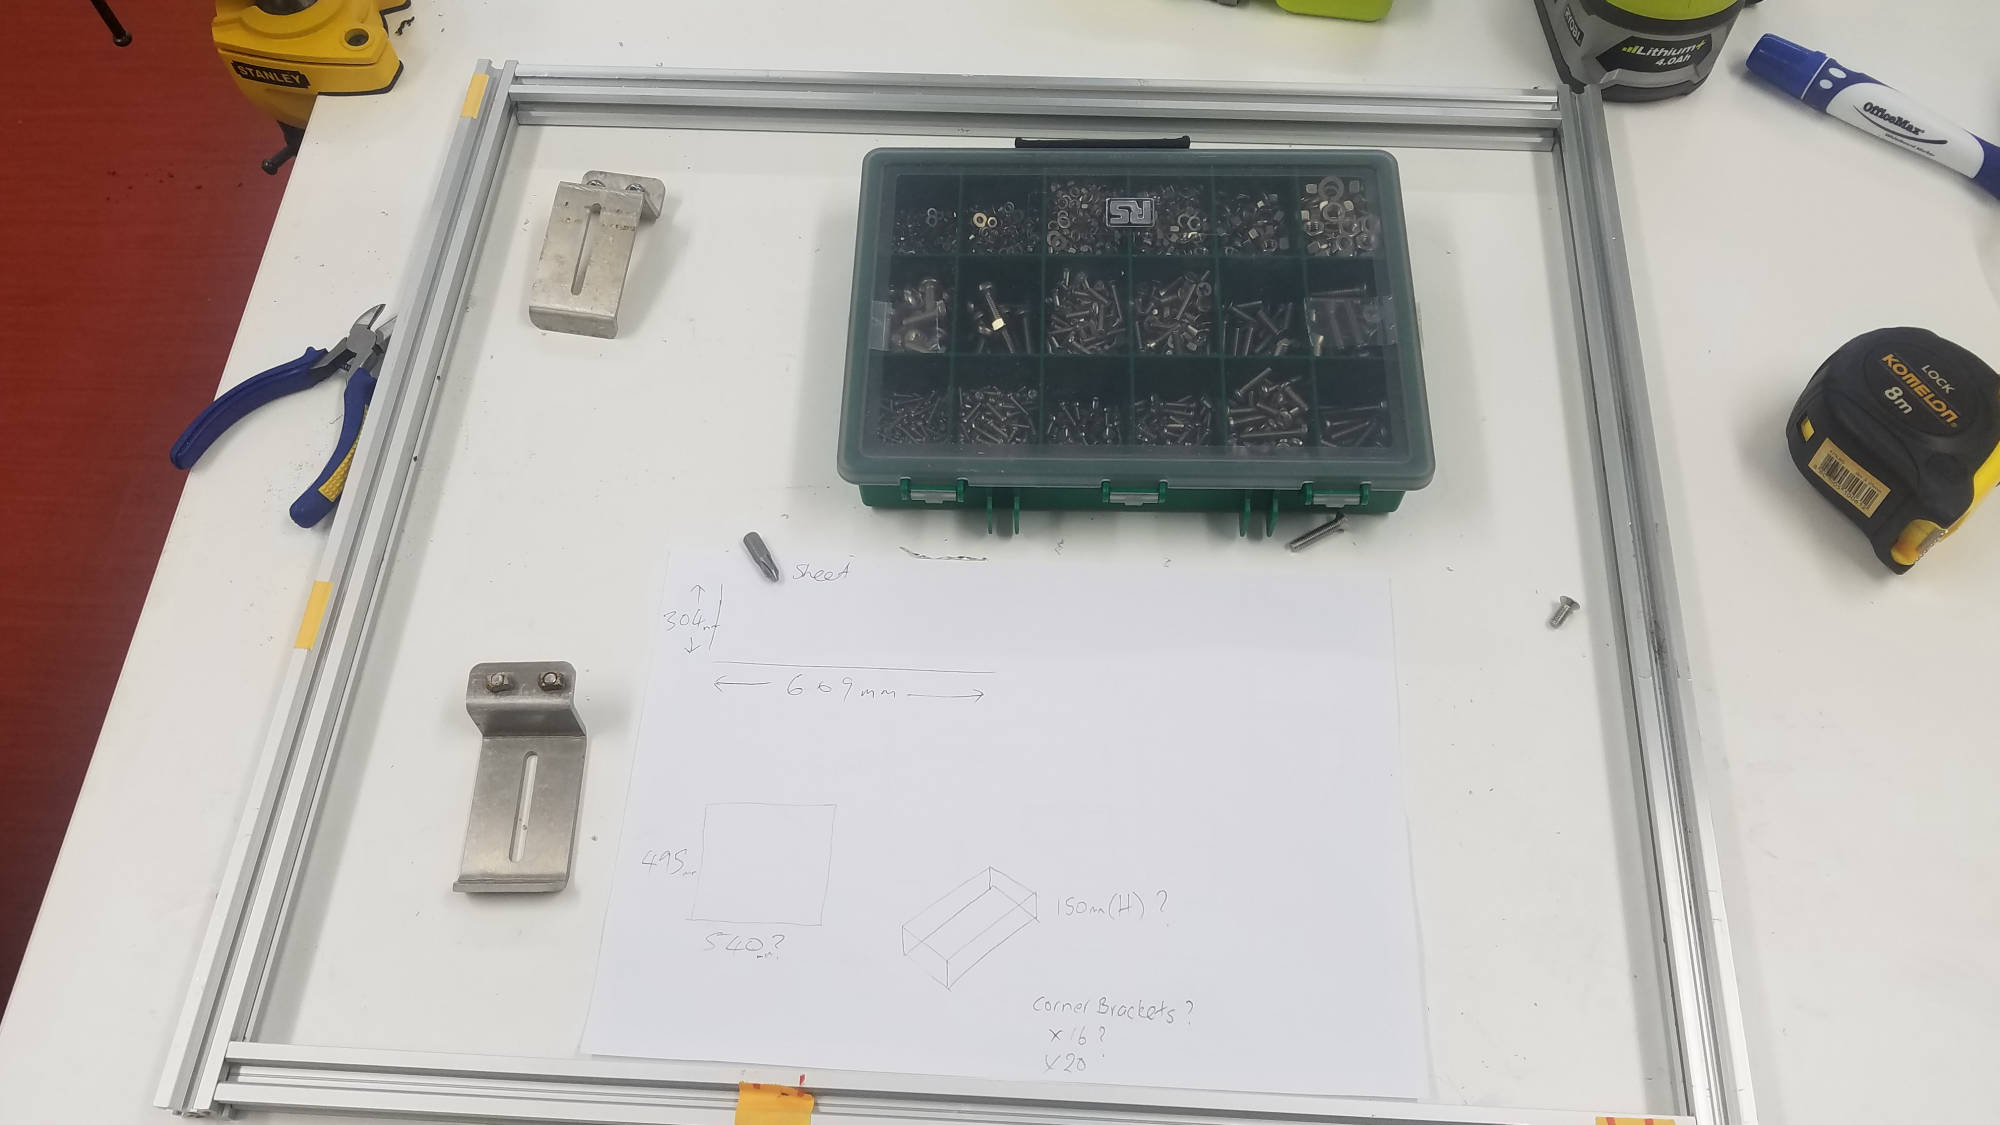
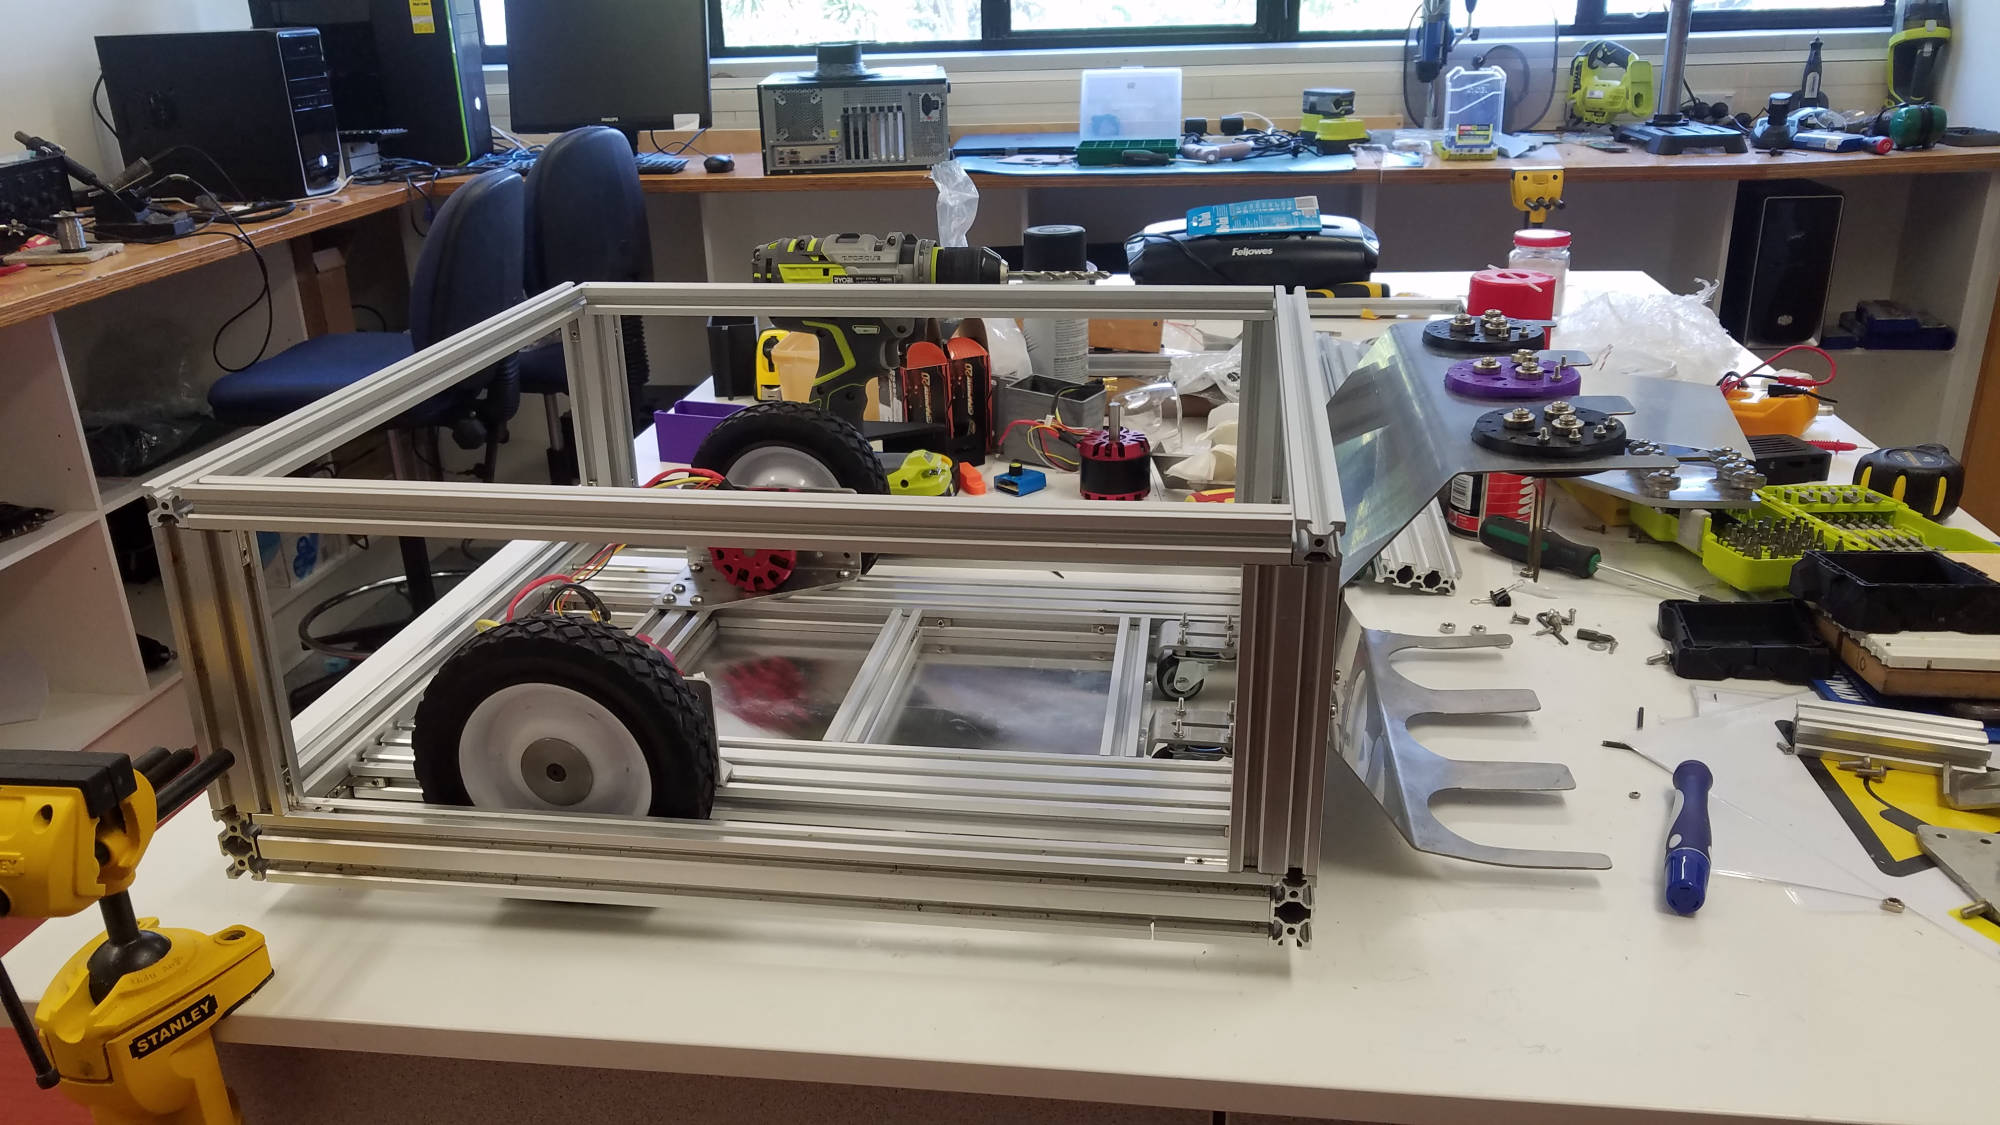
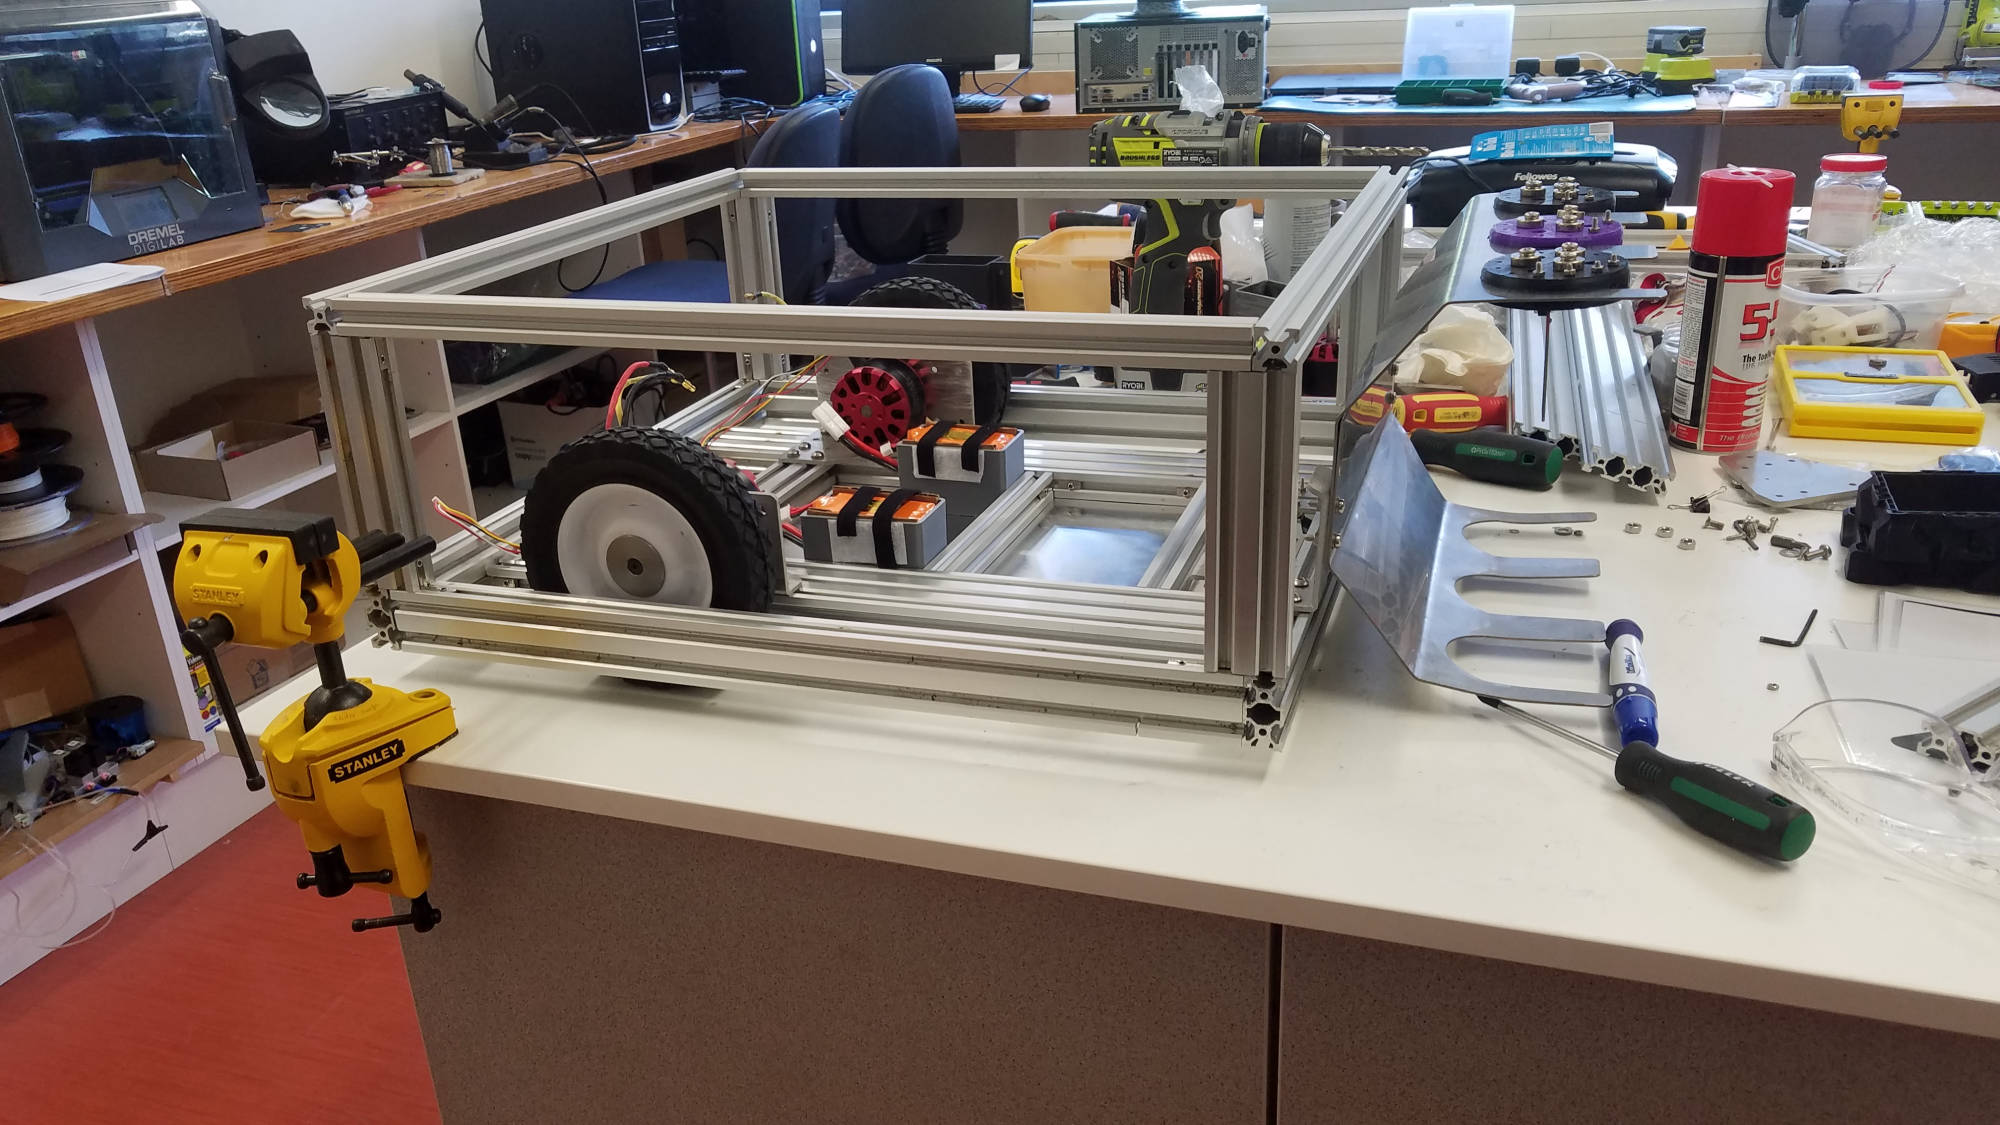
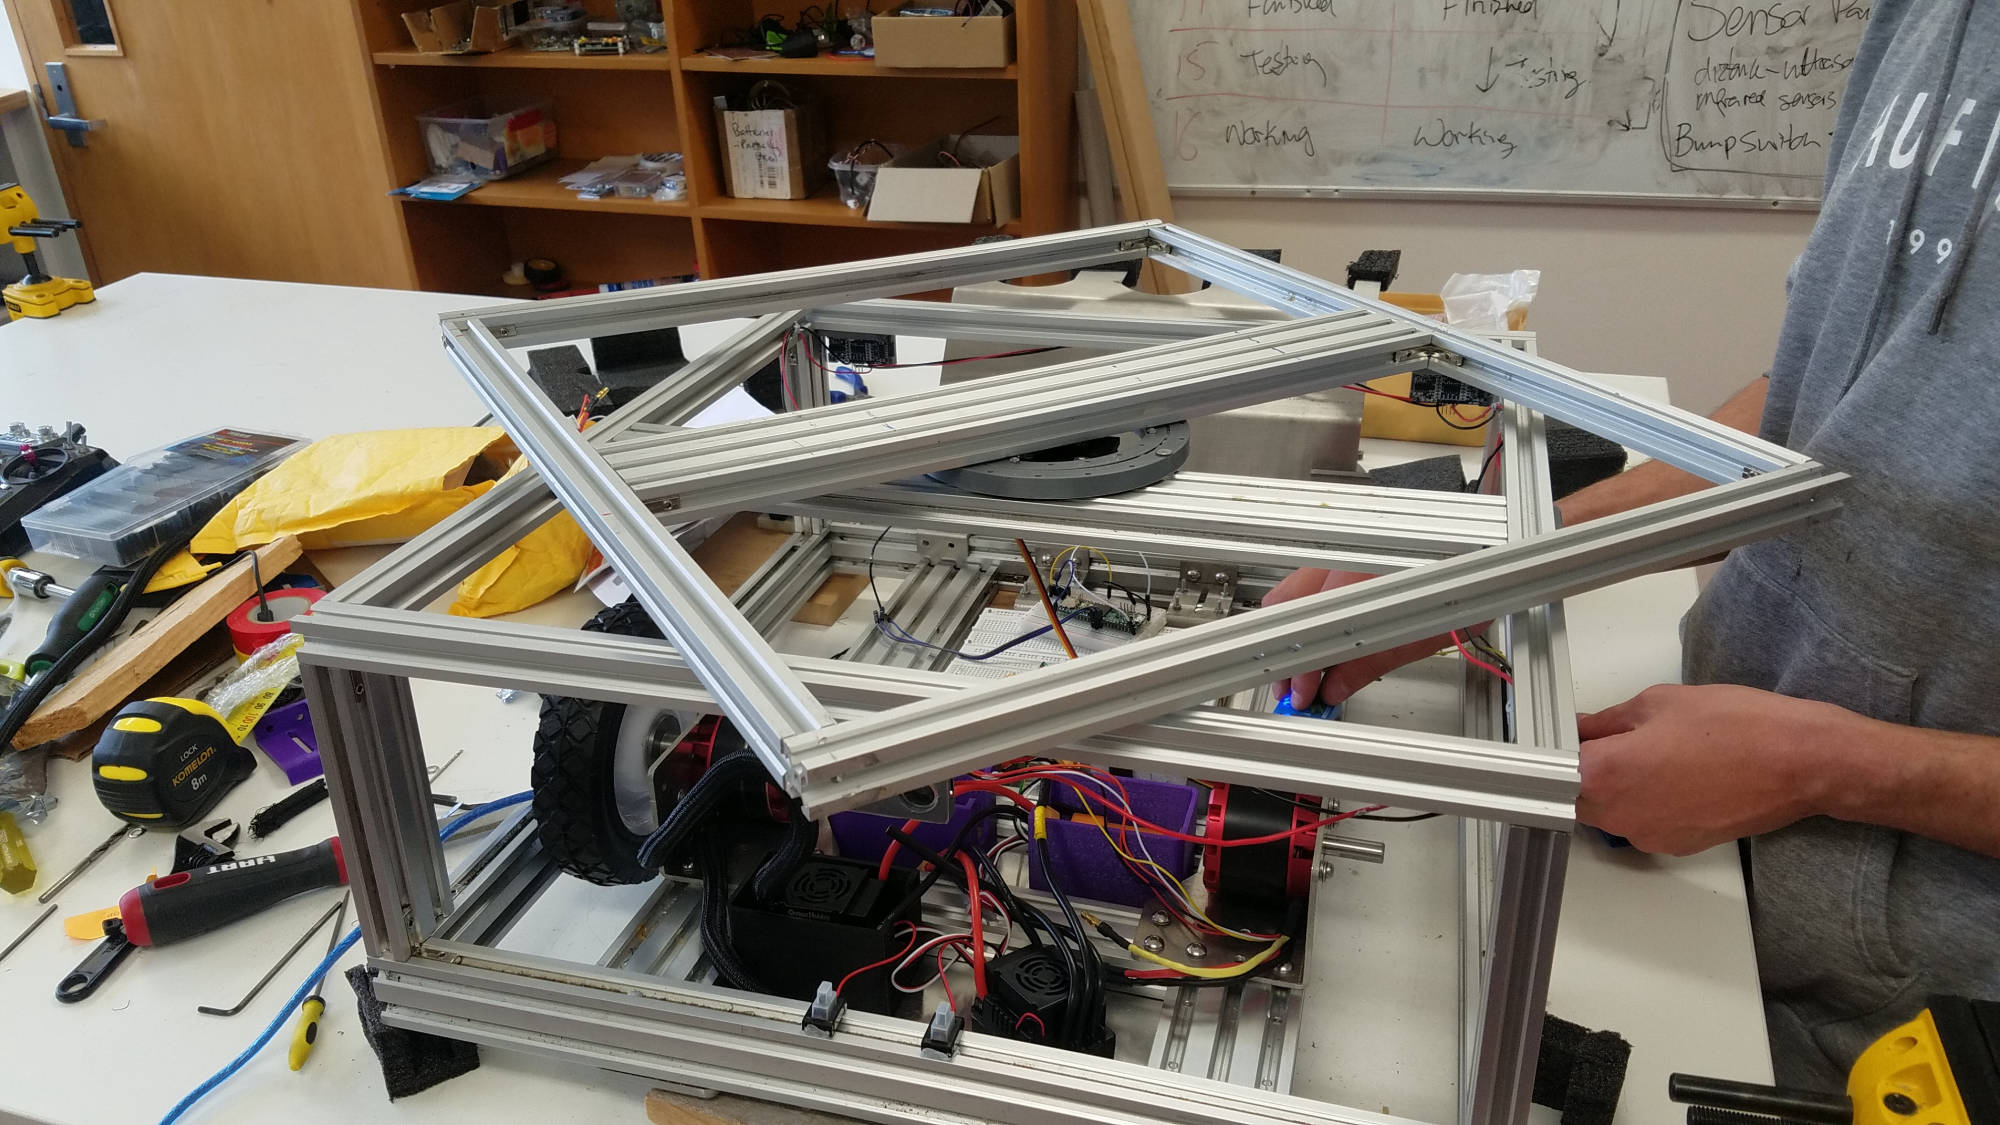
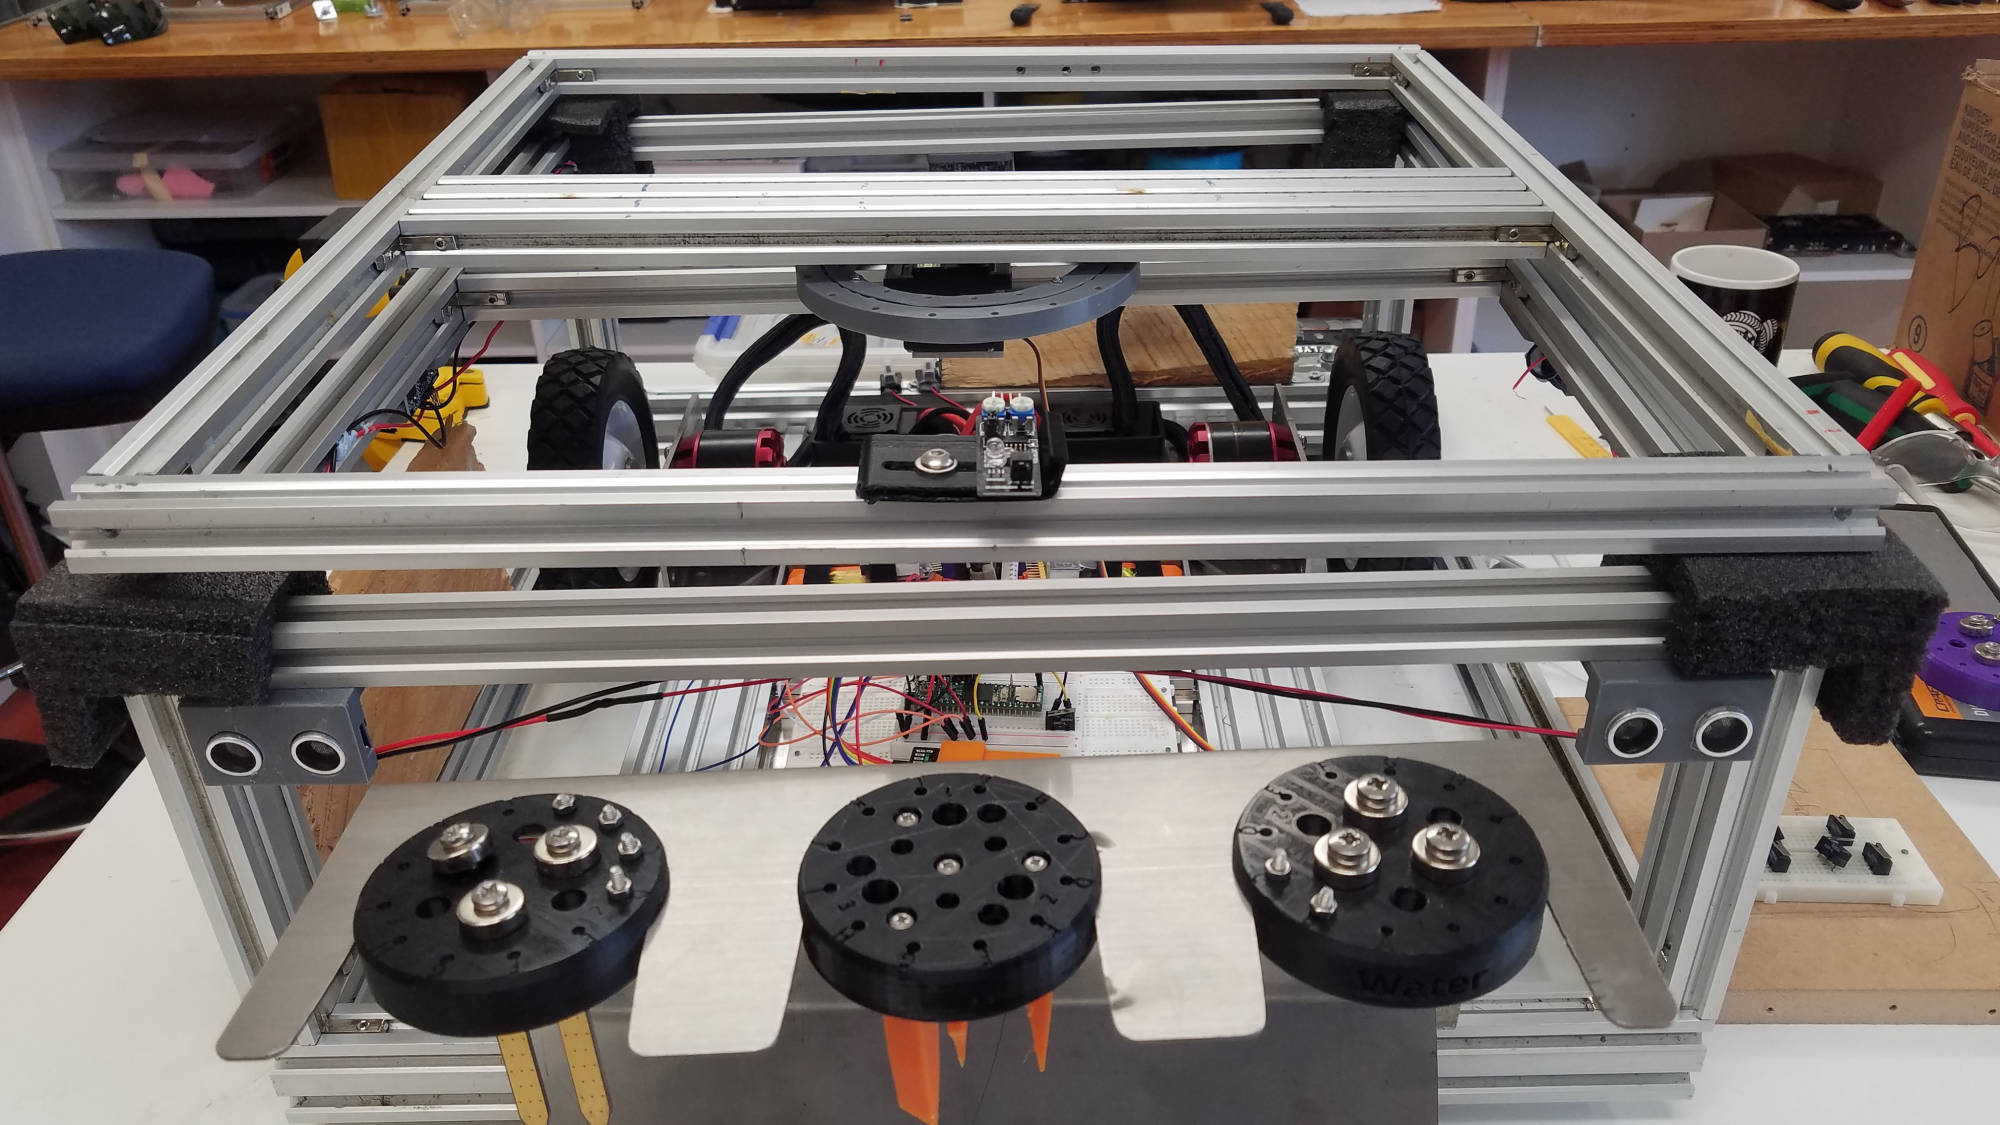
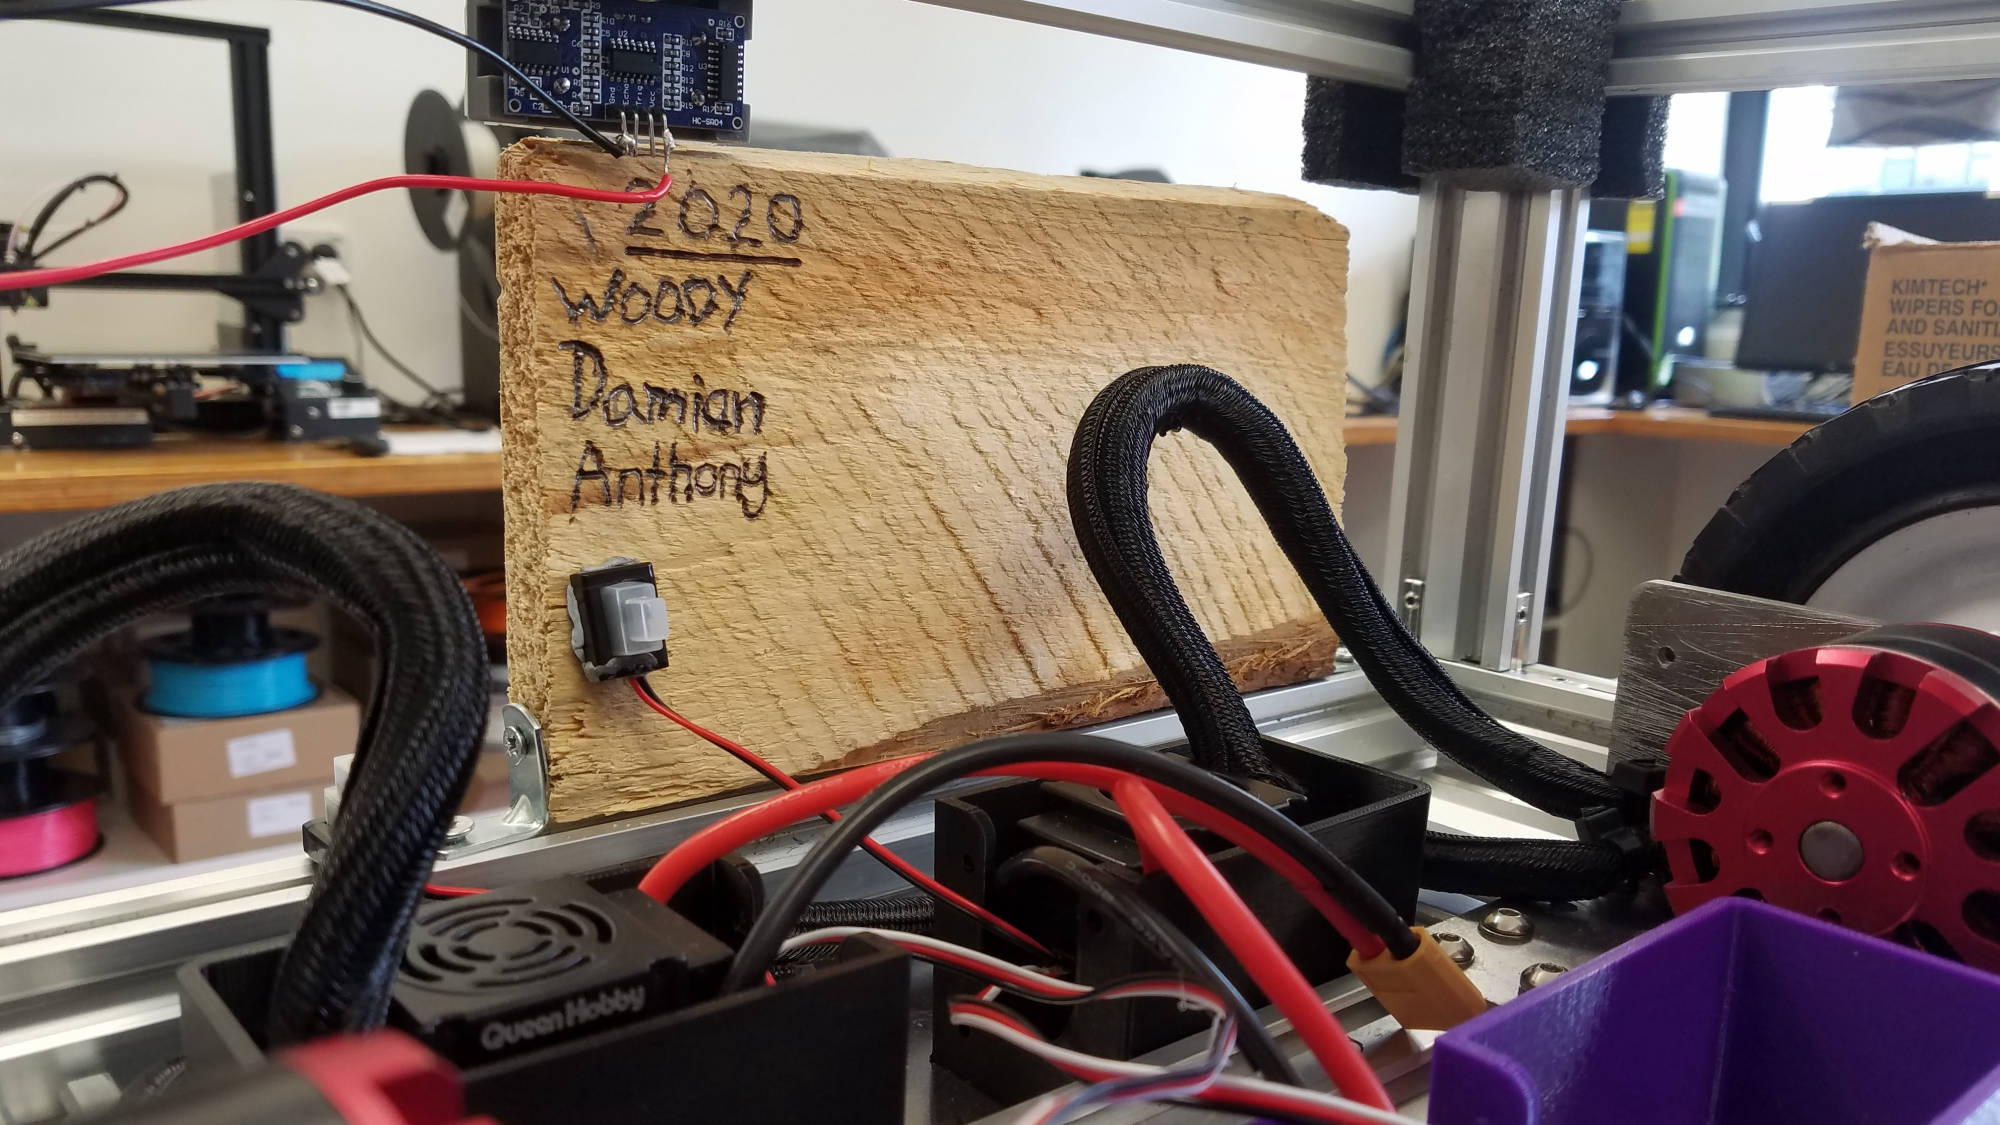
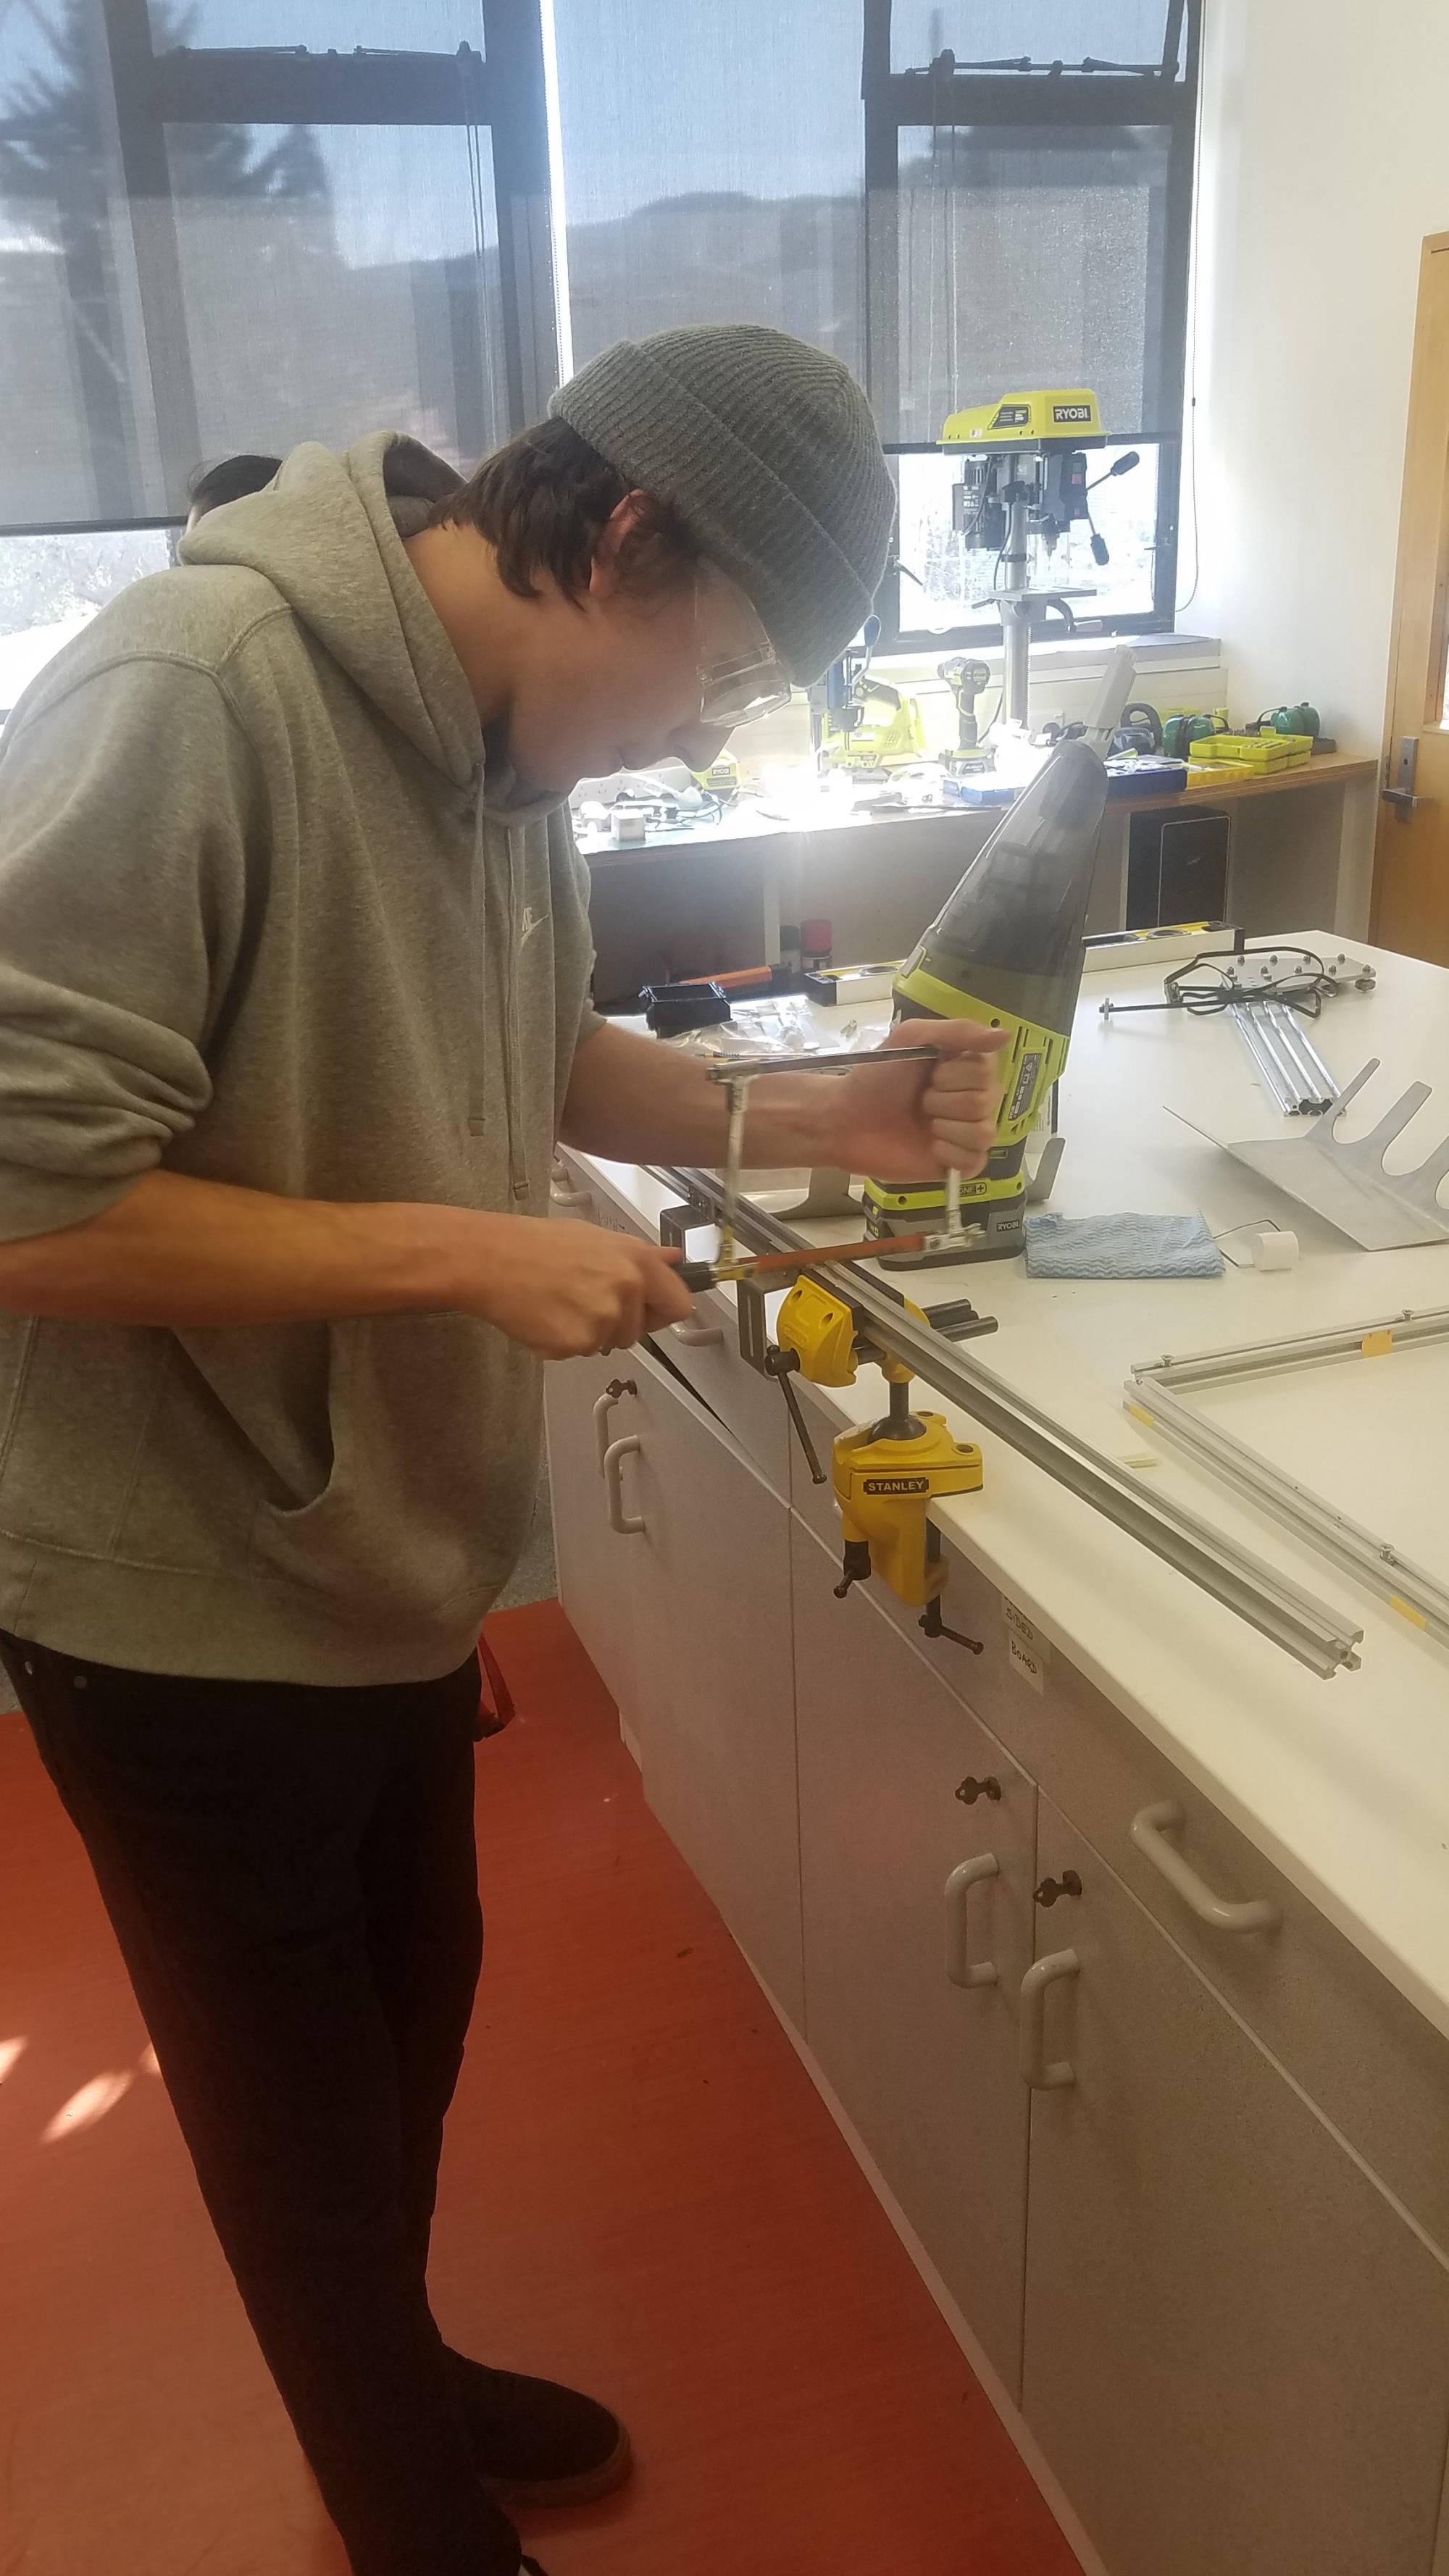
Alluminium extrusion (2020v) was used to start our chassis. We all decided that if we were to do this properly we would need extra resources like machinery and other tools to get this chassis built.
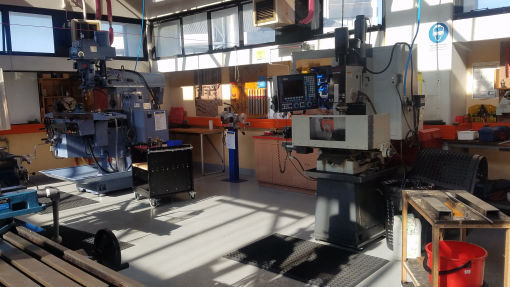
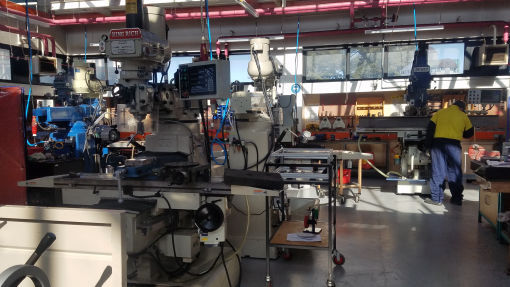
We began the process of gaining access to the engineering school's resources (EPICentre).
This part was very challenging for us as a team. We were inspired by our team mate Damian's electric skateboard, so we decided to go with brushless motors. We ordered larger electric motors (80a) which required higher amps for the motor controllers (120a). This took some time with sourcing parts, calculations and also needing to extend the driveshaft out more so we could get our chosen wheels on ready for movement.
We collaborated with Fred Cross at the Engineering School (OP) to help us with a solution to mount our wheels. Making an extension that fitted over the motor shaft to extend out to fit inside the hub of the wheel was the final decision after some changes to original plans. Fred Cross was really awesome and went above and beyond to find a solution.
Woody used tools and machinery to tap the set screw (M5) holes to the extension sleeve to attach to the motor shaft then pressed the shaft through the wheel.
As we already had a FlySky remote, Lipo Batteries and charger, our first task was to research what we needed to get our battle bot moving. We ordered the brushless motors which were delivered in a week but when we ordered our ESC motor controllers, those took 7 weeks to arrive.
We were in the process of making a mini bot as a backup just in case they didn't arrive.
This mode allows the user to control the robot using a remote control (Flysky FS-I6 X 6ch reciever).
Besides having user control via RC, we wanted to add another mode by 'flicking' the channel to enable autonomous mode.
This mode would trigger sensors to either avoid an obstacle or some other function (AI).
Our team decided on adding a rotating turret using a servo motor which connects at the top of the chassis.
This feature can be used with specific sensors like the Duinotech IR Obstacle Avoidance Sensor Module that will detect and avoid obstacles via 'Autonomous Mode'.
Our team had access to 2 lipo batteries and a B450AC Lipo/LiFe/NiMH battery charger.
Understanding how LiPo batteries and method of charging was a real learning curve for us. There is so much involved when charging these type of batteries.
Make sure you plug in the 'balance' cable (detects how many cells in the battery) then main red and black banana plugs.
1400mAh means setting the dial to 1.4a charging <-----------IMPORTANT
WARNING!!!!! WHEN CHARGING LIPO BATTERIES NEVER LEAVE UNATTENDED!!!!
Here is a in-depth guide on LiPo batteries and charging https://www.maxamps.com/lipo-care.php
In order to connect the batteries to the ESC motor controllers we had to change from the default Tamiya to XT60 connectors.
We used the stepper motor housings from farmbot to hold the batteries then attached to the chassis for safe operation.
This cable enabled us to connect and charge the batteries.
Charging the batteries, require having the right setting. 1400mah batteries need to be set to 1.4a when charging. NOTE: Anything over and it becomes a fire hazard
Jason from Extreme Hobbies helped us with a few things including our under-charged battery. He sorted the battery so that we could recharge it back to full. Extreme Hobbies Dunedin
Jason suggested we add these sensors to both batteries so we know when to recharge them. They indicate what each 'cell' is doing and how much power they have.
The sensors can be set to when they should be charged. We set the batteries to 3.3v which will then beep when it goes down to that rating.